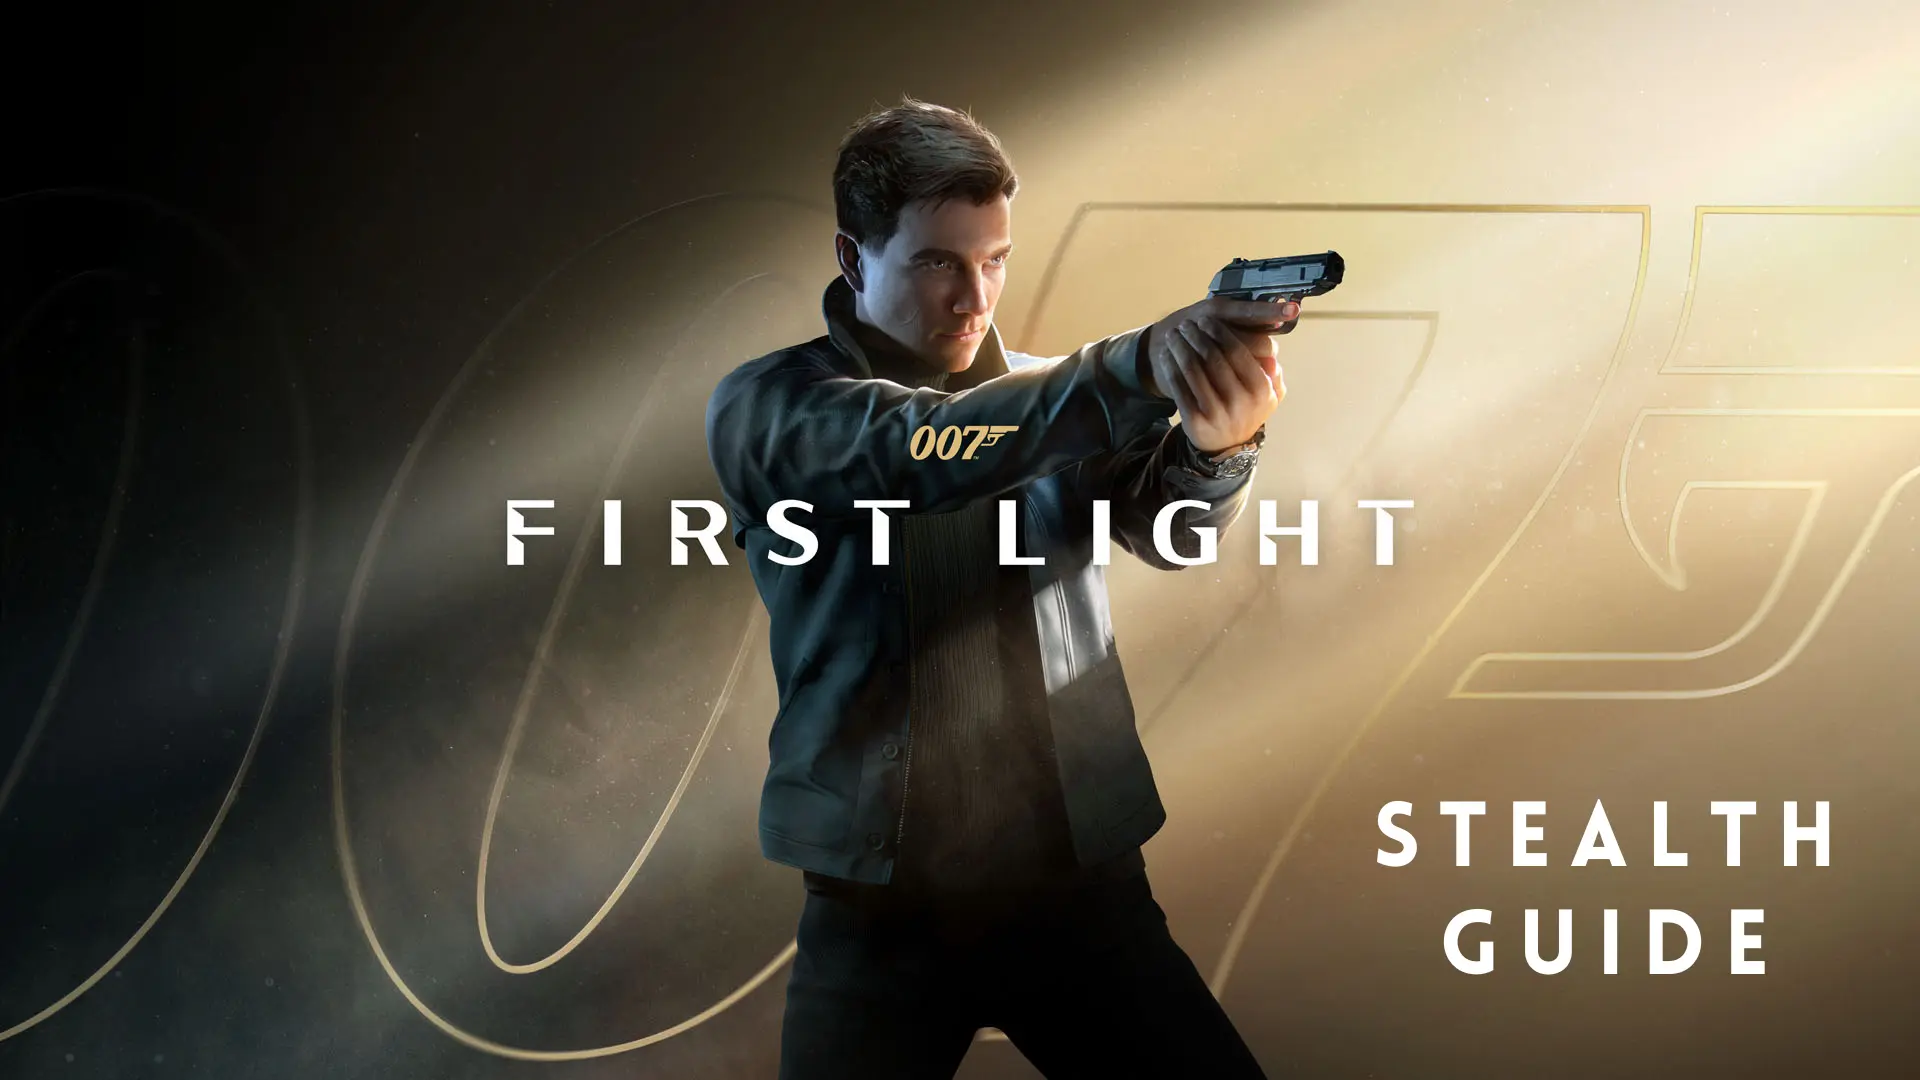
IO Interactive spent six years on 007 First Light, and it shows in how the stealth works. This is not a game that lets you ghost every room on the first try and feel good about it. The systems are layered. The Bluff mechanic, the Instinct meter, the Q-Lens scanning loop, the gadget loadout you build before each mission. They all connect, and if you treat any one of them as optional, you will spend a lot of time watching alarms go off.
This guide assumes you want to actually understand the stealth, not just stumble through it. Some of this stuff the game explains poorly. Some of it is buried in TacSim tutorials most players skip. All of it makes a real difference once you know it.
1. Treat the Q-Lens as a Habit, Not a Tool
Most players use the Q-Lens when they are confused. That is the wrong time to use it. The right time is the second you enter any new area, before you move anywhere.
When active, the Q-Lens shifts your screen into a blue wireframe overlay that shows enemy positions through walls, patrol routes, hackable devices, cameras, and items carried by individual guards. Keycards. Cash. Whatever a specific enemy is holding that you might need later. The game gives you this information for free, but only if you actually look.
The practical habit is simple: walk into a room, stop, hold the Q-Lens button, and sweep the space. Count the guards. Watch how far each one walks before turning around. Spot the cameras. Identify what each guard is carrying. Then plan your route. Players who skip this step end up improvising constantly, which burns Instinct and gadget charges on situations that a ten-second scan would have prevented entirely.
The Q-Lens also reveals collectibles and intel documents, shown with a bookmark-shaped icon as you get close. Those intel items are not just lore. Picking them up before you approach restricted zones can unlock additional dialogue options for Bluffing, which feeds directly into the next tip.
Holding the Q-Lens button constantly prevents more failures than any other single habit in this game. It is the one thing every guide agrees on.
2. Eavesdrop Before You Move
007 First Light rewards you for listening. Guards, staff, and bystanders have conversations that reveal schedules, access codes, patrol shortcuts, and security weaknesses. If you walk past them to get to the objective faster, you are missing information the game specifically put there for you.
Eavesdropping also has a direct mechanical payoff. Certain Bluff options are locked until you have gathered enough intel about the person you are trying to talk past. A security chief that your Instinct spend alone cannot bypass might become bluffable after you overhear the right conversation in a side room. Picking up a name badge or reading a document on a desk can do the same thing.
Before entering any restricted area, take a couple of minutes to circle the outside and listen to whatever conversations are in range. Run the Q-Lens over nearby tables and terminals while you are at it. What looks like one route in often turns out to be two or three once you have the right information.
The Kensington mission in chapter 4 is a good example. Bond arrives with no valid cover identity and has to build one from scratch inside the venue. There is a photographer's name badge in the east cloakroom. Without it, the lower-floor checkpoints require an Instinct spend. With it, you walk through. That kind of shortcut does not get flagged on the map. You find it by paying attention.
3. Understand What the Bluff System Actually Does
The Bluff is not a get-out-of-jail-free card. It is closer to a resource management problem.
When a guard catches you somewhere you should not be, there is usually a window before the situation escalates where you can hit the Bluff button. Bond delivers a smooth line. The guard backs off. Your cover holds. It costs Instinct to do this, and the amount it costs depends on the difficulty and the situation.
Here is what the game does not tell you clearly: some enemies cannot be bluffed at all. High-profile targets and senior security figures are hardwired to disbelieve whatever Bond says. Trying to Bluff them does not fail. The option simply does not appear. Those characters need to be removed another way, or avoided entirely. Knowing in advance which guards fall into this category, by scanning them with the Q-Lens or listening to conversations about them, changes how you plan the approach.
Rebuilding Instinct after spending it is also worth understanding. Eavesdropping fills the meter. Silent takedowns fill it. Clean kills do too. The loop is deliberate: play like a spy and you keep your options open. Play like you are in a firefight and you will run dry right when you need a Bluff most.
When your Instinct is running low and you cannot afford a Bluff, environmental hazards become important. Sabotaging a nearby radio or triggering a noisy generator draws guard attention just as effectively as a verbal lure, and neither of those options costs anything. The game has enough interactive objects in each area that you can usually find a free distraction if you need one.
Bond always has a line ready, but that line costs something. Keep your Instinct healthy and the Bluff stays reliable. Let it drain and you will be standing in a restricted area with nothing to say.
4. Build Your Gadget Loadout Around Two Resource Pools
007 First Light gives you eight gadgets total, but the Q-Lens and Q-Watch are permanently equipped. That leaves you choosing from six others, and at the start of the game you only have two flexible slots to fill. A third unlocks after the Knightfall mission. Getting these picks wrong will cost you dearly in missions with mixed stealth and combat sections.
The key thing to understand is that gadgets run on two separate resources: Battery charge for electronic gadgets, and Chemical charge for physical ones. If you load up on gadgets that both draw from the same pool, you will drain it early and have nothing left for the back half of the mission. The smart approach is to carry one Battery-based option and one Chemical-based option, so you always have something in reserve.
For pure stealth runs, the four gadgets that come up most often are the Q-Watch, the Dart Phone, the Smoke Pod, and the Laser Strap. The Q-Watch is your hacking hub: cameras, fire alarms, nearby devices. Free to use, no resource cost. The Dart Phone is for the guard the Q-Watch could not move. Silent, decent range, fires an immobilizing shot. The Smoke Pod is the group option, best when you can cluster two or three enemies into a tight space before deploying it. In open areas with spread-out patrols it is harder to use efficiently, which is worth knowing before you waste charges on it. The Laser Strap opens locked doors and vent shortcuts that bypass whole sections of a map.
There is also a practical order to follow before spending charges. Always attempt the Q-Watch hack first, since it costs nothing. Hack a device near a stubborn guard and see if they move. If they do not, then spend the Dart Phone charge. Running that sequence in reverse wastes resources on situations that a free action would have handled.
Players who are building toward the Knightfall "High Ground" challenge should note that the Laser Strap is the only way to access certain vent routes in that mission. It is technically optional for the main objective, but those alternate paths bypass some of the densest patrol sections in the game. Without the Laser Strap in your loadout, you are doing it the hard way.
5. Learn to Handle Guards Who Are About to Call for Backup
The run that falls apart because one guard managed to radio in is probably the most common failure mode in this game. It happens fast and it feels unfair, but there is a consistent window to stop it if you know what to watch for.
There is a circle filling up above any enemy's head when they are about to call for backup or escalate an alert. Once that circle completes, they trigger reinforcements or fire. The window to interrupt it is short but consistent. Throwing a nearby object at the guard staggers them. Shooting them with the Dart Phone from a distance does the same. Either option breaks the animation and gives you time to close the distance and take them down properly.
Gadgets help here too. The Dart Phone and Laser Strap can interrupt a radio call from range without making noise that pulls nearby guards. Force works up close but it is loud. If there are two patrols within earshot of each other, intercepting the call quietly is the only way to keep both of them in the dark.
Bodies are a separate problem. 007 First Light does not let you hide corpses, which is the main way this game differs from Hitman. If a guard finds a body, they will call in the discovery regardless of whether they saw you. The practical workaround is to time takedowns so that patrol cycles do not bring other guards through the area for long enough to matter. Scan the room first, identify the patrol gaps, then act during the window. It is not a perfect system, but it works most of the time.
6. Use TacSim to Get Good Without Campaign Pressure
TacSim, short for Tactical Simulation, unlocks at the end of Chapter 2 after you speak with Selina Tan at MI6. It is a dedicated training mode set inside Q Lab, framed in-universe as an experimental program for new agents. In practice, it is where you go to learn mechanics that the campaign does not give you enough time to figure out under pressure.
Each mission runs across three difficulty tiers: Training, Test, and Showdown. Training is the sandbox, Test adds restrictions, Showdown is where everything you learned gets pressure-tested with limited margin for error. Completing them earns Intel currency for gadgets, upgrades, skins, and suits. None of that is available anywhere else in the game.
The two challenge modifiers available at launch are worth taking seriously. One removes all gadgets entirely, forcing you to clear missions using only melee and whatever environmental interactions you can find. This sounds brutal, and the first attempt usually confirms it. But running a gadget-free mission is the fastest way to understand which gadgets you were actually relying on versus which ones you were carrying out of habit. The second modifier restricts ranged combat to headshots only. Body shots deal no damage. In rooms with multiple armed enemies, this forces a level of positional awareness that the base campaign does not require.
Do not save TacSim for after the credits. The first two missions unlock their TacSim versions early, before you have finished the campaign. That is the best window to start farming Intel while the mechanics are still fresh and the pressure is lower. Go in during the campaign and you will hit the harder chapters noticeably more prepared.
There are also hidden back corridors and press area routes in certain TacSim levels, specifically the Kensington version, that the level designers built specifically for high-level stealth runs. These routes do not appear in the campaign version. If you want to understand how deeply the maps were designed, TacSim is where you see the rest of the work.
One Thing to Keep in Mind
007 First Light is not Hitman. The stealth works, but it has limits. Bodies cannot be hidden. Certain guards will not be fooled no matter what Bond says. Some situations are built to go loud, and the game does not apologize for that. If you go in expecting Hitman-level sandbox control you will be frustrated. If you go in expecting a Bond game that actually makes you think before pulling a trigger, it mostly delivers.
The runs that feel good are the ones where you used everything together. Scanned first, listened before moving, kept your Instinct above empty, had the right gadgets for what the map needed. When it clicks it genuinely feels like outwitting the level. When it does not, it usually comes back to skipping one of the steps above.
Start with the Q-Lens. Everything else builds from there.