
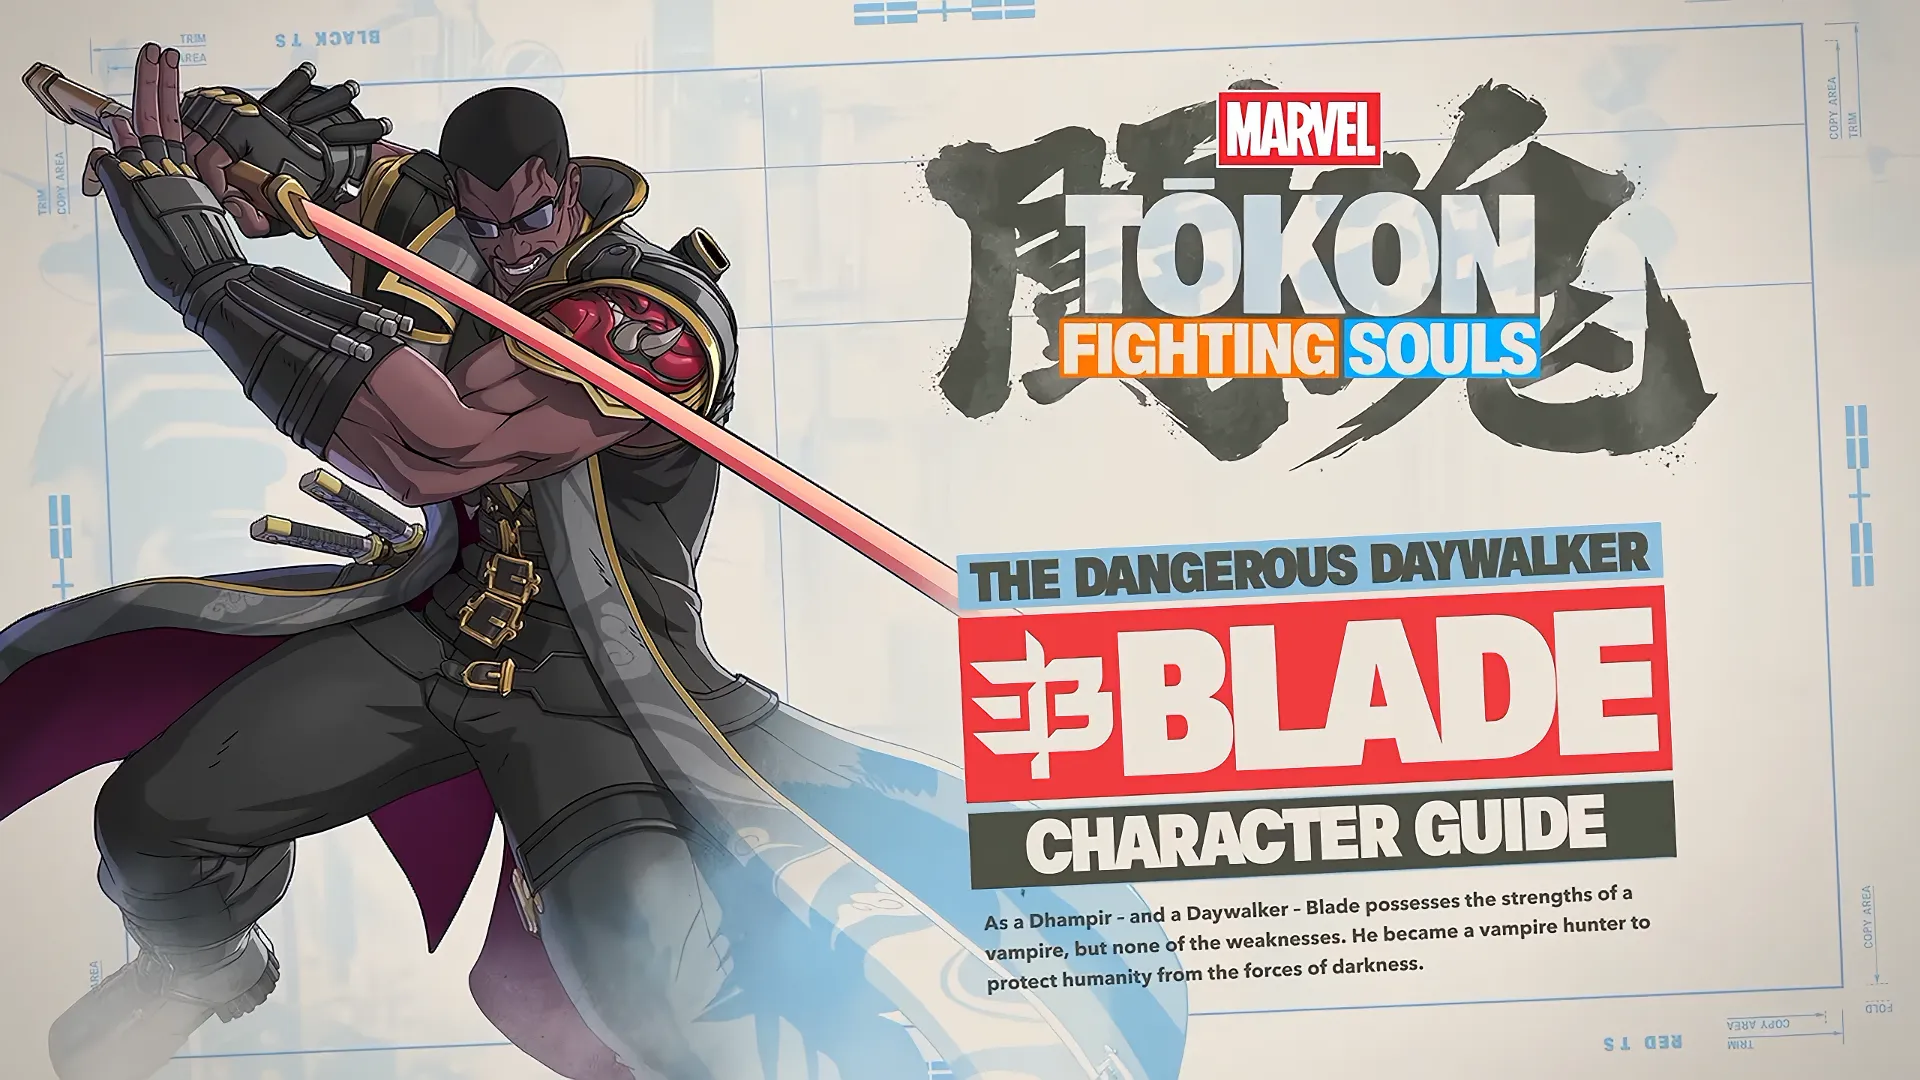
Blade is built to do a bit of everything. Guns for range, a glaive for space control, a sword for the moments when the opponent finally gets close, and vampire hunting instincts holding it all together. In Marvel Tōkon: Fighting Souls, that adds up to a character who rarely feels stuck, whether the match is being played from mid-screen or in the corner. His Ease of Use rating is five stars, but that number only covers how quickly you can start landing hits. Getting the most out of him is a different question, and it comes down to two mechanics he leans on constantly: Heart Stopper and Marked for Death.
Land Heart Stopper, and the opponent gets marked. Once they're marked, a good chunk of Blade's normal toolkit gets meaningfully stronger, more damage, better knockback, combo routes that weren't there a second ago. The rest of this guide breaks down how that loop works, what each of his Skills actually does, and how to string it all together into a gameplan you can take into a real match.
Blade Playstyle
Blade doesn't commit to one style of offense the way some characters do. His machine guns and Glaive Strike hold down mid-screen, while Vampire Cleave and Vampire Slayer take over once he's closed the distance. Instead of pressuring nonstop, he's built to make the opponent flinch first, then punish whatever they do next.
Most of that punishment runs through the same cycle: build toward Heart Stopper, land it, then cash in on Marked for Death. Once an opponent is marked, even a small opening turns into real damage, which is part of why Blade rewards patience over button mashing. Daywalker Deflect adds another layer on top of that, turning a well timed block into a counterattack, so Blade stays dangerous even when he's not the one attacking.
Blade Strengths and Weaknesses
Before getting into the specifics of his kit, here's a quick rundown of where Blade shines and where he needs extra attention from the player.
| Strengths | Weaknesses |
|---|---|
| Full toolkit for both long range zoning and close range pressure | Most of his best damage depends on managing Heart Stopper and Marked for Death correctly |
| Bullet Barrage and Glaive Strike give safe control at mid screen | EX Skills eat into Skill Gauge fast, so meter has to be tracked closely |
| Vampire Slayer covers aerial approaches with multiple follow ups | Empowered Skills used at the wrong moment waste the Marked for Death window |
| Marked for Death substantially boosts combo damage | Muramasa Moon loses most of its value unless it connects up close |
| Daywalker Deflect punishes predictable pressure with an automatic counter | |
| Every Assemble Assist covers a distinct role for team building | |
| Simple controls that are still easy to pick up as a beginner |
Blade's Core Mechanics
Everything Blade does well eventually traces back to two systems working together: Heart Stopper and Marked for Death. His individual Skills hold up fine on their own, but the real damage shows up once you understand how these two pieces interact. He also carries a genuinely strong defensive tool in Daywalker Deflect, which flips an opponent's aggression back on them.
Heart Stopper
Heart Stopper is Blade's core Unique Skill, and arguably the one move his whole plan is built around. Activating it throws a silver stake that tracks the opponent automatically, though you can steer it mid animation to catch someone trying to juke out of the way. It draws from a limited stock, so it's not something to throw out carelessly during a long exchange.
A connecting Heart Stopper puts the opponent into Marked for Death. From there, several of Blade's Skills gain extra properties, more damage, stronger knockback, longer combos, and a handful of attacks let him chain directly back into another Heart Stopper. Treat it as a combo tool first and a projectile second.
Marked for Death
Marked for Death is the status that unlocks Blade's real damage. Once it's active, specific Skills hit noticeably harder, launch further, or open up combo routes that aren't available otherwise. Experienced Blade players tend to hold their gauge until a mark is in place rather than spending the moment it's available.
Heart Stopper isn't the only way to apply it either. Daywalker Deflect and Muramasa Moon can both trigger Marked for Death, which means keeping the status active should sit near the top of your priorities in any given match.
Daywalker Deflect
Daywalker Deflect is one of the stronger defensive options in the entire roster. Unlike a normal block, it can absorb anything that would otherwise be blockable, and a successful deflect against the opposing leader triggers an automatic counterattack right away.
Pulling it off also activates Marked for Death, which means a good read on defense doubles as a setup for offense. That risk and reward tradeoff is a big part of what makes Blade fun to play once you're comfortable challenging predictable opponents with it.
Putting It All Together
The overall plan is simpler than the mechanics might suggest. Control space early with projectiles and safe pokes, look for a Heart Stopper opening or a chance to punish overextension with Daywalker Deflect, then once Marked for Death is live, switch into Vampire Cleave, Vampire Slayer, Glaive Strike, or another empowered Skill to squeeze out maximum damage before resetting to neutral.
Repeat that cycle enough times and Blade holds up against a wide range of matchups without ever needing to force anything. He's not a character who wins by being the most aggressive person in the room. He wins by making sure every opening actually counts.
Blade Normal Attacks
Like the rest of the cast, Blade has standing, crouching, and aerial versions of his Light, Medium, and Heavy attacks. They're built around his balanced identity, giving him pokes, anti air coverage, and combo starters without locking him into one style of offense.
Lights are fast and reliable for starting pressure or confirming into Link Attacks. Mediums trade some speed for range and damage, which makes them better suited to extending combos or holding mid-range. Heavies hit hardest and come with extra aerial variations, letting Blade challenge opponents in the air from more than one angle.
None of this is complicated on its own, but it becomes a lot more threatening once you layer his Unique Skills on top. Plenty of Blade's best routes start with a plain normal string before shifting into whatever applies or capitalizes on Marked for Death, so the fundamentals matter more here than they might look at first glance.
Blade Link Attacks
Link Attacks are how Blade turns normal hits into real combos. Chaining Light, Medium, and Heavy attacks together creates strings that flow naturally into his Skills, Super Skill, or Ultimate Skill, and since so much of his damage comes from converting small openings, getting comfortable with these routes matters early on.
He can chain Link Attacks by stringing together successive normals of the same or different strength, or by mixing standing and crouching versions. That gives some flexibility in adapting pressure to spacing without losing access to his strongest follow ups.
Light Link Attacks
Light Link Attacks are Blade's safest way into a combo. Fast startup makes them good for punishing unsafe attacks, confirming a close-range hit, or opening pressure after getting in. Pressing Light one more time at the end of a Light Link Attack triggers the Break version of Vampire Slayer, giving him another combo extension without much added risk.
Medium Link Attacks
Medium Link Attacks cancel straight into Bloodlust, his Super Skill. Press Medium one extra time at the end of a Medium string and Blade cancels directly into the Super without returning to neutral first, which is the most efficient way to cash out damage whenever the gauge is available.
Heavy Link Attacks
Heavy Link Attacks lead into Muramasa Moon, the Ultimate Skill. An extra Heavy press at the end of the string activates it, and holding a directional input during the string lets Blade slot in an EX move first for even more damage. That's a tool for experienced players looking to optimize high-gauge situations rather than something to reach for by default.
Whether you're confirming into a Skill, extending with a Break attack, or closing a round with the Super or Ultimate, Link Attacks are the connective tissue of Blade's offense. Knowing when to stop a string, cancel early, or hold back for a bigger payoff is usually what separates a new Blade player from a seasoned one.
Blade Skills
Blade's Skills give him an answer for nearly every situation, controlling space, punishing jumps, closing distance, or extending a combo. Each one works fine in isolation, but they all get considerably better once Marked for Death is active, so knowing when to use a Skill matters as much as knowing what it does.
Bullet Barrage
Bullet Barrage has Blade fire a stream of bullets directly ahead, making it one of his safest ways to hold horizontal space. It's useful for checking reckless approaches and buys time to transition into offense. There's also an aerial version, letting him pressure while repositioning in the air.
If Heart Stopper connects while Bullet Barrage is active, Blade adds a kick before continuing the barrage, stretching out both the attack and the combo. The EX version fires additional rounds for more pressure and damage, at the cost of extra Skill Gauge.
Best Use: Hold mid-range space, discourage approaches, and extend combos after a Heart Stopper connects.
Vampire Slayer
Vampire Slayer is Blade's go-to anti-air, sending him upward with a sword strike aimed at airborne opponents. The Light version is a quick launcher good for interrupting jump-ins, while Medium and Heavy reach further up for opponents attacking from higher angles.
Against a marked opponent, it hits harder and produces stronger blowback. Finishing a Light Link Attack also unlocks the Break version, adding another combo path without extra resource cost. The EX version grants invulnerability on startup, which is useful for challenging aggressive pressure directly.
Best Use: Shut down jump-ins, launch into combos, and punish unsafe pressure with the invulnerable EX version.
Vampire Cleave
Vampire Cleave sends Blade dashing forward with a sword slash that carries him past the opponent. It's a solid way to close distance, punish defensive play, and keep momentum going once the opponent starts respecting his zoning.
Against a marked opponent, it deals more damage and launches them further, which improves both combo routes and corner carry. If Heart Stopper lands during the attack, Blade adds a follow-up slash for even more damage. An aerial version exists too, useful when approaching from above or extending an air combo.
Best Use: Close distance fast, extend combos, and capitalize on opponents already marked for death.
Glaive Strike
Glaive Strike throws Blade's signature weapon forward as a spinning projectile that stays active on both the way out and the way back. That lingering hitbox forces opponents to navigate around it carefully, while Blade himself is free to keep moving.
A connecting glaive lets Blade follow up immediately, continuing pressure or extending a combo. Because it stays live for a while, Glaive Strike is one of his stronger neutral tools and pairs well with his other projectiles for layered offense.
Best Use: Control neutral, establish projectile pressure, and set up safe entries into offense.
Blade Super Skill, Ultimate Skill, and Tōkon Assemble
Where his standard Skills keep pressure steady, Blade's Super Skill, Ultimate Skill, and Tōkon Assemble are where the real damage swings happen. Each fills a different role, from a reliable combo finisher to a full comeback tool.
Bloodlust (Super Skill)
Bloodlust costs 50 Skill Gauge and has Blade lunge in with a burst of slashes and gunfire, capped off with a finishing strike. Its quick startup and consistent damage make it a good way to close out combos without burning through all your resources.
It cancels directly from a Medium Link Attack, so a clean confirm turns into guaranteed damage without any extra setup. That makes it the go-to option when you want to cash out but still keep gauge in reserve.
Best Use: Finish bread-and-butter combos, secure a knockdown, and convert Medium Link Attacks into reliable damage.
Muramasa Moon (Ultimate Skill)
Muramasa Moon costs 100 Skill Gauge and sends out a heavy projectile that gets significantly stronger if it connects at close range, adding an extra follow-up attack when it does. That range dependency is worth remembering going in.
Beyond damage, a connecting Muramasa Moon makes Blade's next two Skills automatically inflict Marked for Death, letting him keep pressure going well after the animation ends. That makes it one of his best momentum tools, not just a big hit. It's also available directly from a Heavy Link Attack once you've built enough gauge and confirmed a clean opening.
Best Use: Maximize combo damage, set up Marked for Death for whatever comes after, and close out rounds with his strongest conversion.
Tōkon Assemble
Tōkon Assemble costs 150 Skill Gauge and hits as Blade's most devastating tool. The opening attack is fully invincible, which means it can blow through incoming offense if the timing lines up. On a hit, teammates jump in for a cinematic team assault before Blade lands the finishing blow.
Because that opening strike is invincible, it can double as either a combo finisher or a reversal against an opponent who's being overly aggressive. The gauge cost is steep, though, so it's usually better saved for a confirmed combo or a match point rather than thrown out on instinct.
Best Use: End high damage combos, punish predictable offense with the invincible startup, and close out important rounds.
Managing Blade's Skill Gauge
All three of Blade's strongest attacks pull from the same Skill Gauge, so resource management ends up being a real part of playing him well. Bloodlust gets reliable damage for a modest cost, Muramasa Moon trades a bigger investment for damage plus Marked for Death utility, and Tōkon Assemble asks for the most gauge in exchange for the most damage.
Rather than spending gauge the second it's available, think about the state of the match. Sometimes Bloodlust is enough to close out a round. Other times it's worth holding for Muramasa Moon to keep momentum, or saving everything for a Tōkon Assemble that could decide a close game.
| Attack | Gauge Cost | Best Use |
|---|---|---|
| Bloodlust (Super Skill) | 50 | Reliable combo finisher, low commitment |
| Muramasa Moon (Ultimate Skill) | 100 | Big damage plus Marked for Death setup |
| Tōkon Assemble | 150 | Invincible reversal or match-closing finisher |
Blade Assemble Assist Types
Blade brings a flexible set of Assemble Assists that can slot into nearly any team composition. Whether the need is projectile coverage, combo extension, anti-air, or aerial pressure, each assist covers a distinct role.
Shooter Assist
Blade fires a continuous burst of machine gun rounds straight ahead, creating sustained horizontal pressure that can interrupt an approaching opponent or cover your own advance.
Best Use: Control neutral, cover approaches, and pin the opponent down while your point character closes in.
Assault Assist
Blade throws Heart Stopper and follows up with a strike if it connects, useful for extending combos while also applying pressure from a safe distance.
Best Use: Extend grounded combos, add pressure, and punish opponents trying to challenge from mid-range.
Vertical Assist
Blade performs Vampire Slayer, launching upward with an anti-air slash. Its vertical reach makes it good for controlling aerial space and shutting down opponents who lean on jump-ins.
Best Use: Guard against aerial pressure, interrupt jump-ins, and add anti-air coverage for the team.
Aerial Assist
Blade jumps and rains silver stakes diagonally toward the ground, covering a wide area and forcing the opponent to navigate around the falling projectiles.
Best Use: Hold screen control, cover airborne movement, and layer pressure during offense.
Blade Tips and Strategy
Beginner Tips
- Prioritize landing Heart Stopper whenever the opening is there, since it makes most of what follows stronger.
- Don't lean entirely on close-range offense. Blade does his best work when space is controlled first.
- Use Bullet Barrage to discourage reckless approaches and pressure safely from mid-range.
- Practice the timing on Vampire Slayer until punishing jump-ins feels automatic.
- Save EX Skills for moments where the extra properties actually matter, not just because the gauge is available.
- Remember Glaive Strike stays active on the way back, so use that window to pressure from another angle.
- Convert Link Attacks into Bloodlust when you want reliable damage without spending too much.
- Learn the range where Muramasa Moon's close follow-up connects so the Ultimate isn't wasted.
Advanced Tips
- Plan offense around getting Marked for Death active instead of firing off your best Skills immediately.
- Use Daywalker Deflect against predictable pressure to shift momentum instantly.
- Layer Glaive Strike with Bullet Barrage to make approaching Blade genuinely difficult.
- Use Heart Stopper follow-ups to pull extra damage out of otherwise ordinary combos.
- Save Muramasa Moon for spots where its Marked for Death effect leads into multiple enhanced Skills after.
- Pick Assemble Assists based on what the team actually needs instead of defaulting to the same one every match.
Simple Gameplan
Play Blade methodically. Control neutral with Bullet Barrage and Glaive Strike while looking for a Heart Stopper opening or a chance to punish aggression with Daywalker Deflect. Once Marked for Death is active, move into Vampire Cleave or Vampire Slayer to maximize damage, then close it out with Bloodlust or Muramasa Moon once the gauge allows it. After the combo ends, go back to controlling space and run the cycle again.
Is Blade Worth Learning?
Blade is one of the more approachable characters in Marvel Tōkon: Fighting Souls, but the five-star Ease of Use rating undersells how much depth is actually here. He has answers for nearly every situation, reliable projectiles, solid anti-air, a genuine defensive option, and combo routes that get stronger once Marked for Death is active.
Whether you're just starting out or want a character that adapts to a wide range of matchups, Blade holds up well either way. Get comfortable managing Heart Stopper, spending Skill Gauge with intent, and picking your defensive moments, and you'll find a character that rewards good decisions just as much as good execution.
Note: This guide hub is updated as Arc System Works reveals new characters, mechanics, and gameplay details. We'll keep adding new guides as more character guides are revealed and extensive official information becomes available.
Explore more Marvel Tōkon: Fighting Souls character guides in our Marvel Tōkon Guide Hub.