

This guide is regularly updated as new patches, community discoveries, and balance changes arrive. Check back for the latest tuning advice, farming methods, and recommended builds.
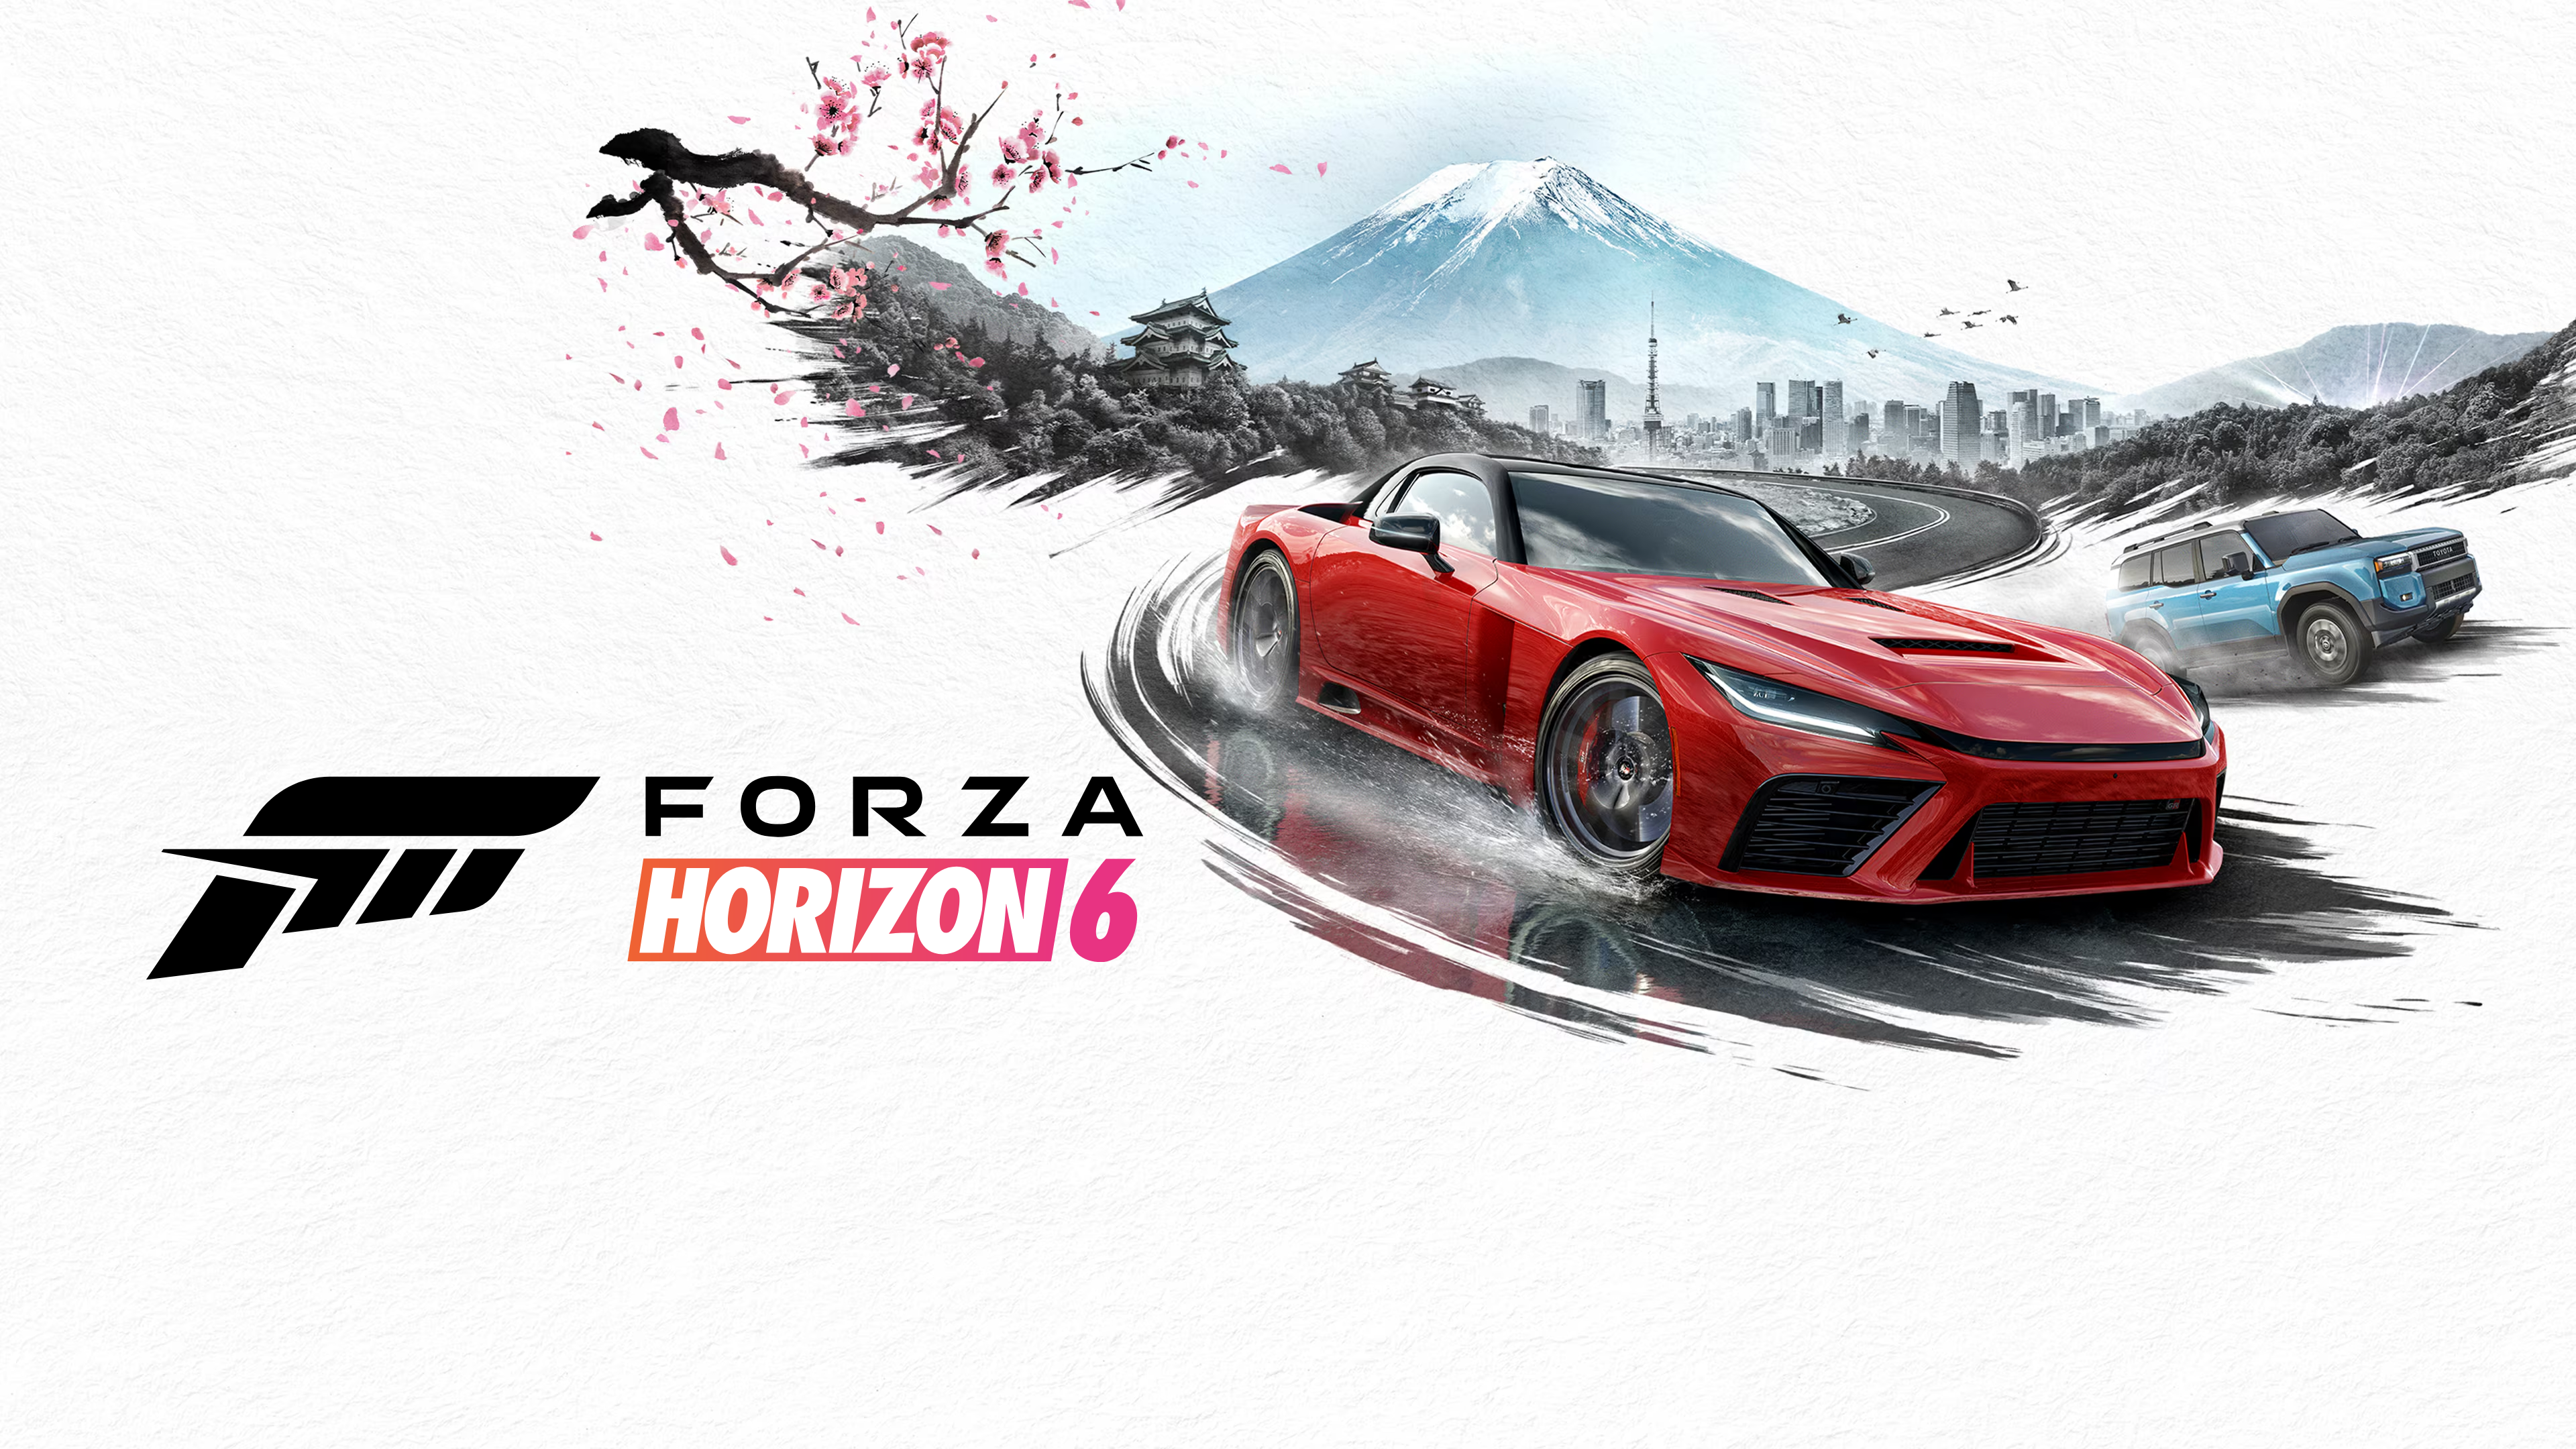
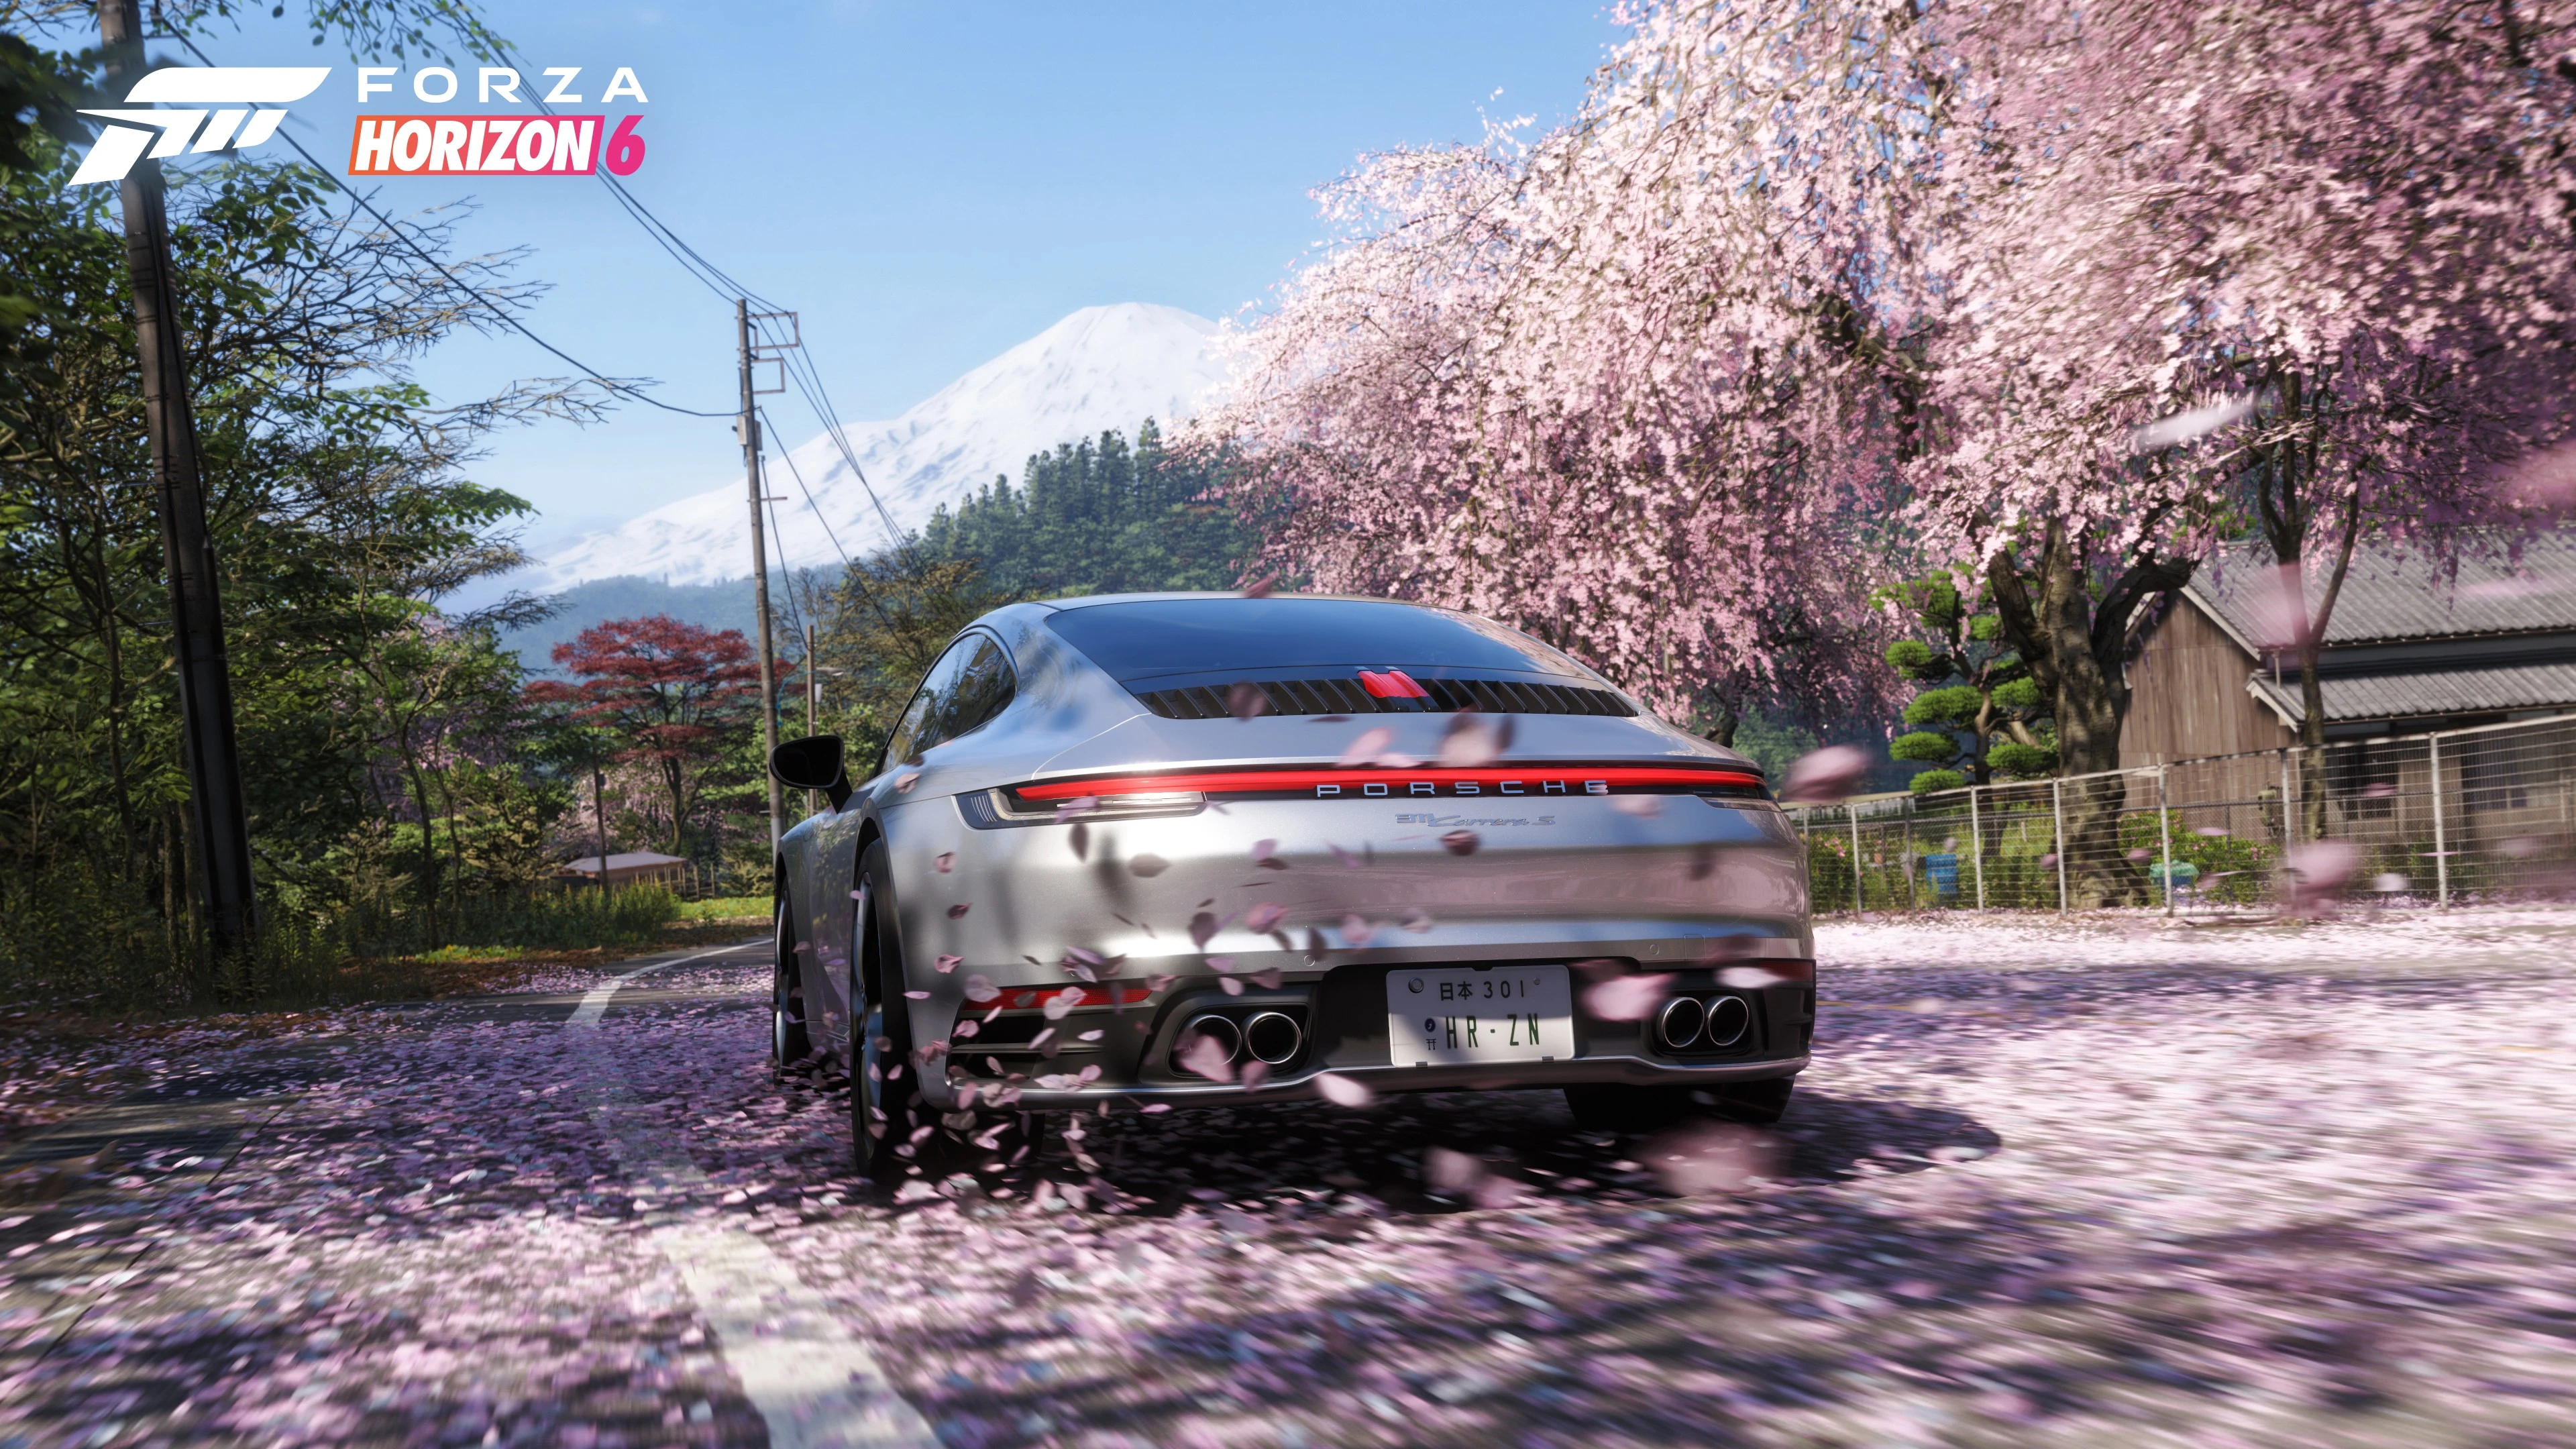
Forza Horizon 6 drops you into Japan with three cars, a lot of mountain passes, and very little guidance on where to actually start. The map mixes tight touge descents, fast expressways, and loose dirt trails, and the game quietly expects you to figure out which car belongs on which surface. Most players don't. They grab whatever looks coolest, burn credits on the wrong upgrades, and spend the first few hours wondering why their car feels completely wrong.
This guide covers the four things that matter most in the early-to-mid game: which starter cars are actually worth using, how to farm credits without wasting hours, what the tuning sliders actually do (and in what order to touch them), and how to get your wheel setup feeling like a real car rather than a bar of soap on ice.
None of this requires you to be a racing game veteran. It just requires knowing where to look.
Best Starter Cars in Forza Horizon 6
The prologue hands you a choice between three cars: the 1989 Nissan Silvia K's, the 1994 Toyota Celica GT-Four ST205, and the 1970 GMC Jimmy. The good news is that all three land in your garage regardless of which one you pick first. You're not locking yourself out of anything. The choice just determines which car you drive for the next race.
That said, the three cars are genuinely different, and knowing what each one is for saves you from fighting against your own vehicle for the first hour.
1989 Nissan Silvia K's: Best for Drifting and Street Races
The Silvia is rear-wheel drive, lightweight, and comes pre-tuned by Mei specifically for drift zones and touge runs. If you've ever watched Initial D and thought those hairpin slides looked like something you'd want to do, this is the car. It builds skill chains fast, which matters for Skill Point farming later in the game.
The catch is that it takes patience. The rear will step out if you're not smooth on the throttle, and it doesn't love dirt surfaces. Use it where the game intends it: street races, touge showdowns, drift zones. Treat it like a drift tool, not a do-everything car.
1994 Toyota Celica GT-Four ST205: Best All-Rounder
This is the one most guides recommend first, and they're not wrong. The Celica has AWD, the best top speed of the three starters, and enough off-road grip to stop you from beaching yourself every time the road ends. Its real-world pedigree as a WRC car translates into how it feels in-game: stable, planted, and honest about its limits.
If you don't have a strong preference for drifting or off-road, start with the Celica. It posts the highest top speed rating of the three and handles equally well across the mixed circuit, trail, and dirt events that dominate the early game.
1970 GMC Jimmy: Best for Off-Road
The GMC Jimmy is the odd one out. It's slower on tarmac and doesn't drift cleanly, but put it on rough terrain and it becomes a different animal. Japan's map has a serious amount of cross-country and trail sections, especially outside the city areas, and the Jimmy handles them better than anything else you'll have access to early.
The honest recommendation is to run the Celica for general events and swap to the Jimmy specifically when a cross-country race shows up. Both are already in your garage, so there's no cost to switching.
2005 Ford GT: Best Free Early Pick-Up
Past the prologue, the 2005 Ford GT is worth going out of your way for. It's a Treasure Car located in the Nangan Region, and it costs almost nothing to get. With a decent custom tune, it competes at almost any touge or street race in the early-to-mid game. For a free car, the ceiling is surprisingly high.
2020 Lotus Evija Forza Edition: Best for XP Farming
Drifting and stunts are the fastest ways to earn XP, and the Lotus Evija Forza Edition racks up skill points faster than almost any car you'll access early, especially once you put drift tires on it. It's not a traditional race car, but for pure progression grinding, it earns its garage spot.
How to Farm Credits Fast in Forza Horizon 6
Credits are tight at the start. The Autoshow has hundreds of options, upgrades cost real money, and it's easy to burn through your starting budget on things that don't move the needle. Here's what actually works, sorted by how early you can access each method.
Food Delivery Missions
This is the best early credit source specific to Forza Horizon 6. Food Delivery Missions pay out reliably, require no special car build, and show up before you've earned enough to do most other farming methods properly. Run these first. They work especially well on cars tied to early story events because the game steers more players toward those vehicles, which means better engagement with any liveries or tunes you share off the back of those missions.
Skill Point Farming into Super Wheelspins
Once you have a high-multiplier car, Skill Point farming is the most repeatable credit method in the game. The 1998 Subaru Impreza 22B-STi Version is widely considered the best car for this. It unlocks a 9x skill multiplier through Car Mastery, builds chains quickly, and costs far less than rare alternatives.
The method is straightforward: open Creative Hub, go to EventLab, search for a Skill Point farm race, and run it until the skill chain hits the 10 Skill Point cap. Let the chain bank, then restart. Don't let the chain die, and don't hold Skill Points past what you need, since you can only store 999 at once. Spend them on cars with useful Car Mastery reward grids, specifically ones that give Super Wheelspins. Super Wheelspins pay out three rewards per spin and are one of the fastest ways to stack credits without actively grinding races.
Before you start farming, unlock two Car Mastery perks: Multi Maxer, which raises the skill multiplier to 9x, and Where The Fun Begins, which makes the multiplier build 2.5x faster. Without these, the farming is much slower.
Auction House Flipping
The Auction House is the closest thing Forza Horizon 6 has to a passive economy. Buy meta cars listed below market price, relist them 10 percent higher, and collect the difference. It requires some knowledge of which cars people actually want, but the barrier is low once you've played for a few hours and started to notice which vehicles keep showing up in races.
Duplicate cars from Wheelspins can go straight to auction rather than being sold at base value through the menus. The difference in payout is often significant, especially on rarer cars.
The Goliath Circuit
Once you've unlocked the Goliath, the longest road race on the map, running it on Expert AI difficulty with a tuned S2 car nets around 250,000 to 500,000 credits per loop, plus the clean race bonus. It's time-intensive per run, but the payout is high enough that one or two loops covers most early upgrade costs.
Liveries and Tunes
Uploading liveries and custom tunes earns passive credits every time another player downloads or uses them. The payouts are small individually, but they add up. Target the cars that show up most in early story events and Festival Playlist requirements, since those are the vehicles people are actively searching for tunes on.
You don't need to be a designer or a tuner expert. A basic clean livery on a popular early-event car will get downloads. Upload it and forget about it.
Daily Houses and Festival Journal Milestones
Buy the Wheelspin house as soon as you have enough credits. It pays out a daily Wheelspin that compounds over time. Festival Journal milestones give Super Wheelspins at various checkpoints, which are worth targeting before you spend credits on anything else. Both of these are low-effort, and the cumulative reward from running them consistently is substantial.
Tuning Guide for Forza Horizon 6
Tuning in Forza Horizon 6 is more important than in previous Horizon games. The new physics model punishes unbalanced setups harder, particularly on Japan's mountain passes and tight city streets. Adding maximum horsepower without fixing the chassis underneath it usually makes the car slower, not faster.
Here's how to approach it without getting lost in the menus.
Unlock the Tuning Categories First
Some tuning options won't appear until you install the right upgrades. Race Suspension unlocks ride height, springs, and damping sliders. Race Anti-Roll Bars unlock the ARB settings. A Race or Sport Differential unlocks the differential sliders. Adjustable aero parts unlock the downforce controls. If a category is greyed out in the tune menu, check your upgrade list before assuming something is broken.
Always install a differential and both front and rear ARBs before tuning anything else. These two unlocks give you access to the settings that fix most handling problems.
Upgrade Order That Actually Works
The instinct for new players is to go straight for the engine. Resist it. In Forza Horizon 6, the upgrade order that works is: differential, ARBs, tire compound, front tire width, brakes, suspension, weight reduction, then power. Add power after the chassis is sorted, not before.
Brakes matter more than they did in previous Horizon games. Weak stock brakes cause lock-ups under rapid downshifts and trail braking, which on Japan's technical sections costs more time than a few extra horsepower would gain.
For weight reduction, spend a large chunk of your PI budget here. A lighter car is a faster car on this map. Focus on exhaust first, then intake, ignition, fuel, and valves. Turbos and supercharger upgrades are situational; weight reduction and braking almost never are.
Tune One Setting at a Time
This is the most common mistake, and it's worth repeating: change one thing at a time. When you change multiple settings in one session, you can't tell what helped and what hurt. Test after every adjustment. It feels slow, but it's the only way to actually learn what each slider does for your specific car.
Suspension Settings
The core suspension relationship in Forza Horizon 6 is straightforward. If the car understeers (pushes wide through corners), soften the front suspension or stiffen the rear. If it oversteers (the back steps out), stiffen the front or soften the rear. If the suspension bottoms out over bumps, raise ride height slightly or increase spring stiffness.
Tire pressure runs between 26 and 28 PSI for stock, street, and rally tires as a baseline. Camber should sit around -1 degree front and -0.6 degrees rear as a starting point, with caster angle around 5 degrees. These aren't universal rules, but they give you a sensible base to test from.
Differential Settings
For RWD cars on road, start with 50 to 60 percent acceleration lock and 10 to 20 percent deceleration. This gives traction on corner exit without killing rotation. If the car pushes wide on acceleration, lower the acceleration setting. If it feels unstable when lifting off the throttle, increase deceleration.
For AWD cars, the center differential should never go below 50 percent. The typical range is 60 to 90 percent, with higher values adding more rear bias and oversteer. AWD acceleration lock can go up to 95 percent; deceleration should stay at 5 to 10 percent minimum.
FWD cars generally run very high acceleration lock values. The differential is less dramatic to tune on FWD builds, but it still matters for corner entry feel.
Aerodynamics
More downforce means more grip in fast corners but a lower top speed. Target a front-to-rear balance of 0.4 to 0.45 as a starting point. If the car slides in fast sweepers, increase rear downforce. If top speed on expressways is the priority, reduce it. Touge builds generally don't need maximum downforce since speeds are lower and corner entry feel matters more than outright grip.
One trap worth avoiding: too much front aero creates instability in high-speed corners. Too much rear aero makes the car feel heavy and reluctant to rotate. Balance matters more than maximum values.
Using Community Share Codes
You don't have to tune from scratch. Community share codes give you tested setups for almost every car, and they're searchable in-game through the Creative Hub. Use them as a starting point, then adjust for your driving style. Most competitive players modify downloaded tunes anyway, so there's no shame in starting with someone else's baseline.
Wheel Settings for Forza Horizon 6
Forza Horizon 6 has better wheel support than any previous Horizon game, but the default settings don't feel right on most setups. A Logitech G923, a MOZA R5, and a Fanatec CSL DD are all different technologies (gear-driven, belt-driven, and direct-drive), and the same in-game sliders affect them differently.
The short version before anything else: update your wheel firmware and calibrate the wheelbase before touching in-game sliders. This is the step most people skip, and it causes more problems than any specific setting.
Start with Simulation Steering
Before touching any force feedback sliders, go to the Difficulty menu and switch Steering to Simulation. Normal steering applies a smoothing filter that helps controller players but actively fights against a wheel's direct input. With Simulation on, the wheel reacts to the tires, not a filtered approximation of them.
Without Simulation Steering turned on, no amount of slider adjustment will make the force feedback feel natural. Do this first.
Baseline In-Game Settings
These are reasonable starting values across most mid-range wheels. They're not optimal for every setup, but they give you something sensible to test from rather than the defaults, which tend to be either too light or too heavy depending on your wheelbase.
Force Feedback Scale: 0.8 to 1.0. This controls the aligning torque, the dominant force you feel through the wheel. Start lower rather than higher. Direct drive bases on higher-torque settings can clip the signal, which loses detail.
Wheel Damper Scale: 0.1 to 0.2. Too high makes the wheel feel heavy and slow to respond. Too low makes it feel disconnected. Fanatec officially recommends 0.2.
Mechanical Trail Scale: 1.0. Leave this at default. It adds weight to the wheel as speed increases, and the default is already well-calibrated.
Force Feedback Minimum Force: 0.3 to 0.5. This raises the floor on force feedback so small inputs are still felt through the wheel. Gear-driven wheels like the Logitech G923 often need this slightly higher to compensate for mechanical friction masking subtle effects.
Force Feedback Load Sensitivity: 1.0 to 1.5. Higher values make the wheel respond faster when weight transfers during cornering and braking. 1.5 is a common recommendation for players who want the wheel to react immediately when throwing the car around.
Road Feel Scale: 0.8 to 1.2. Controls road surface vibration. Keep this reasonable. Set it too high and the wheel becomes noisy and physically tiring over long sessions.
Steering Sensitivity: 0.5. Keep this near the midpoint. Going too high makes the center feel over-amplified; too low and the wheel loses feel around center.
Wheel Rotation
Rotation determines how fast the car responds to your hands. The general recommendation is 900 degrees as a default for mid-range and high-spec wheels. Drop to 720 degrees if the steering feels too slow on tight city sections. Avoid going below 540 as a first solution. Low rotation values make the car feel twitchy and reduce the physical travel that helps you sense what the car is doing.
720 degrees is arguably the most practical setting for Japan's mix of tight touge and open expressway. It gives enough sensitivity for mountain hairpins while staying controllable at speed.
Brand-Specific Notes
Logitech G923 and G920 users should be aware of a Center Spring bug. The game forces the center spring on regardless of what you set in G HUB. The fix is simple: disconnect and reconnect the wheel while you're already in the car in-game. It clears the center spring for that session. Also, Force Feedback Load Sensitivity effectively widens the range of forces the wheel can express when lowered, which also lightens the overall feel.
Fanatec users on both Xbox and PC should run Simulation Steering, Invert Force Feedback Off, and Wheel Damper Scale at 0.2. On Xbox specifically, a Force Feedback Scale of 1.5 and Steering Rotation at 1440 is the official Fanatec recommendation.
MOZA users running telemetry features need to enable Data Out in the game settings, set the IP to 127.0.0.1, and set the port to 20066. The same base slider recommendations apply across the R3, R5, R9, R12, R16, and R21. Start lower on higher-torque bases to avoid clipping.
For Thrustmaster wheels, the approach is the same as the baseline above. The T300 in particular responds well to keeping Force Feedback Scale between 0.8 and 1.0 and Damper Scale below 0.2.
Invert Force Feedback
This setting reverses the direction of force feedback. Most wheels don't need it, but if your wheel pulls in the direction you're already turning instead of resisting movement, toggle it. It's the first thing to check if the force feedback feels backwards after setup.
Deadzones
The inner deadzone for throttle determines how far you need to press before the car starts to move. The outer deadzone sets how far the pedal needs to travel before the game reads full throttle. If throttle input is registering when your foot is off the pedal, raise the inner deadzone slightly. If the pedal feels stiff before the car responds, lower it.
Brake deadzone works the same way. The G923's brake pedal is stiffer than most players expect, and running the brake outer deadzone around 60 rather than the default 100 gives more usable pedal travel before hitting full braking force.
Final Notes
Forza Horizon 6 rewards players who slow down and sort their setups before chasing leaderboard times. The map is technically demanding, the physics model punishes bad suspension, and credit farming works far better with the right car mastery unlocks than without them.
Start with the Celica for general events. Farm Skill Points with the Subaru 22B-STi. Tune your differential and ARBs before touching engine power. Set Simulation Steering before anything else on your wheel. These four habits will carry you through the first fifteen hours without hitting a wall.
The rest is just reps.