

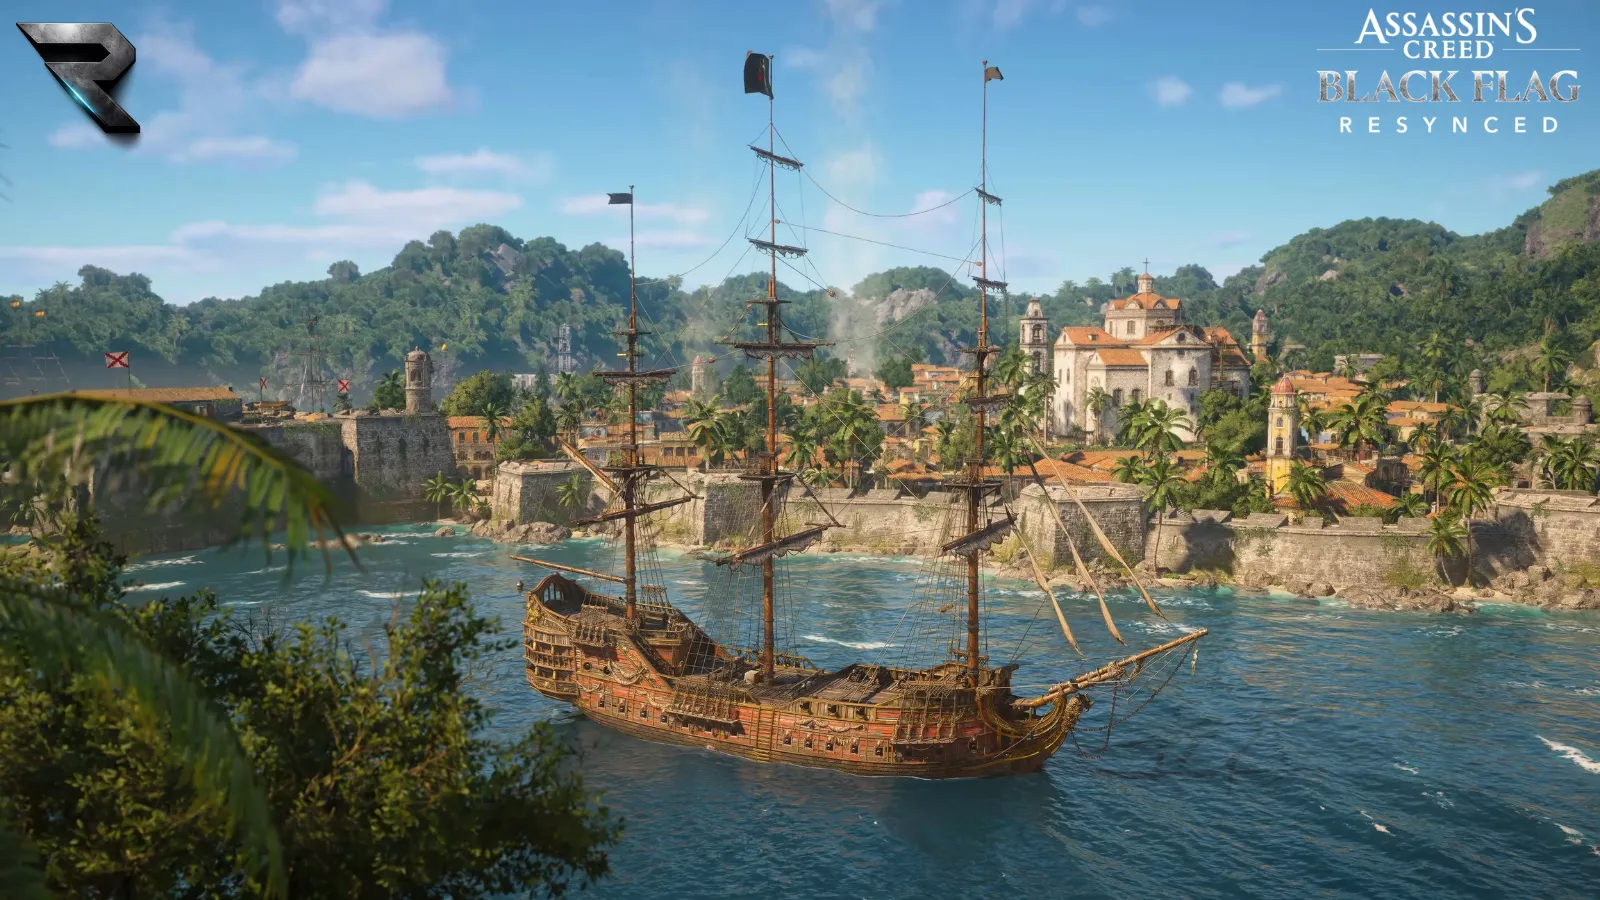
Kenway's Fleet is one of the more useful systems in Assassin's Creed Black Flag Resynced if you want a steady supply of Reales, trade goods and other resources while you keep pushing through the story. Instead of scuttling every ship you capture, you can add suitable vessels to your Fleet and send them out on missions. When those missions finish, the ships come home with rewards that help fund whatever you're upgrading next.
There's more going on under the hood than it first looks like: ship types, Fleet regions, mission types, ship health, Risk Level and the quality of the vessels you recruit all feed into each other. Understanding how those pieces connect is really the whole trick to getting consistent value out of the system.
This guide walks through unlocking Fleet, adding your first ships, picking the right missions, managing Risk, protecting your vessels and building a roster that actually matches what you're trying to get out of the game. If you're still working through the campaign's opening hours, our Assassin's Creed Black Flag Resynced beginner guide covers the broader priorities Fleet fits into.
How to Unlock Kenway's Fleet
Fleet isn't available the moment you set sail. You need to progress through the opening portion of the story until you assassinate Julen Dass and gain access to the mansion on Great Inagua, which becomes one of the primary locations for managing your Fleet from that point on.
Reaching Great Inagua isn't the whole requirement, though.
Capture Your First Fort
Before you can start sending ships out on Fleet missions, you need to capture at least one fort. Forts are heavily guarded strongholds scattered across the Caribbean, and every region has one tied to it. Take a fort and the fog of war in that region clears, opening up Fleet missions there. That makes fort capture part of Fleet progression, not just a side activity you can put off.
The basic progression looks like this: reach Great Inagua, capture a fort, unlock the region, gain access to Fleet missions. As you take more forts, more regions open up, and the missions tied to them get tougher.
Acquire Ships for Your Fleet
You'll also need ships beyond the Jackdaw. During naval encounters, board an enemy vessel after defeating it and you'll get the option to add it to Kenway's Fleet, where it occupies one of your available berths. Find a ship, damage it, board it, capture it, add it to Fleet. That's the loop.
Not every ship you capture needs a permanent spot on your roster. As your Fleet grows, pay attention to the type and quality of what you're adding rather than filling every berth as soon as it opens up.
Where to Access the Fleet
Once unlocked, you can open the Fleet map from your mansion on Great Inagua or from the Captain's Cabin aboard the Jackdaw, so you don't have to sail all the way back just to manage your ships. The Fleet interface shows your available vessels, their condition and every mission currently open across the regions you've unlocked.
Understanding the Fleet Interface
The interface looks more complicated than it actually is. Once you know what each section is showing you, running the Fleet becomes routine pretty quickly.
The first thing you'll run into is the Mission Reports screen. When ships you've dispatched finish their assignments, you get reports showing what they brought back, the goods traded, the mission completed and the rewards earned. Collect those, then head back to the Fleet map to assign new missions.
Your Fleet screen holds your current roster. This is where you check which vessels are available, which berths are occupied and which ships have taken damage. Keeping tabs on your roster matters more as you progress, since different missions call for different ship classes, and there's nothing worse than reaching a valuable mission only to find every free ship belongs to the wrong class.
Fleet berths cap how many ships you can keep at once. As your Fleet expands, you'll eventually need more capacity, which the game ties to upgrades around Great Inagua and additional slots purchased through the Fleet menu (more on exact costs later, since those should be checked against the current Resynced build before you plan around them). The underlying principle holds regardless: more berths mean more flexibility, but filling every one with mediocre ships doesn't actually get you anywhere.
Ships also don't stay in perfect shape forever. They take damage on missions, so check your roster regularly and repair anything that needs it before sending it back out, especially on more dangerous routes. Fleet isn't a fire-and-forget system. You need to return periodically, collect rewards, inspect your ships, repair what's damaged and assign new work.
All Fleet Ship Types Explained
Four vessel categories map directly onto the Fleet's four core mission types.
| Ship Type | Fleet Role |
|---|---|
| Schooner | Trade |
| Frigate | Scout |
| Brig | Piracy |
| Man-o-War | Patrol |
Each class does a specific job, so a balanced Fleet is generally more useful than a roster stacked with one ship type.
Schooners
Schooners run Trade missions, converting trade goods into Reales at payouts that can beat simply selling those same goods to a nearby vendor. If your main goal is building up a cash reserve, keep enough Schooners on hand to keep Trade missions running instead of relying on whatever happens to be free.
Frigates
Frigates handle Scout missions, which do more than just hand you resources. They also resupply Warehouse activities in the surrounding region, and those profitable heist opportunities aren't repeatable until you run another Scout mission there. That makes Frigates worth keeping around if you want to hit Warehouse activities more than once, not just as another income stream.
Brigs
Brigs go out on Piracy missions, raiding for materials and trade goods. They're also relevant for collectible hunters, since Fleet Piracy missions can contribute to the Art Piece collection. Maintaining a few solid Brigs is worth it if you're chasing broader completion goals rather than just maximizing income.
Man-o-Wars
Man-o-Wars run Patrol missions, and their job is different from the other three. Instead of generating resources, they send your biggest ships into a region to intimidate enemies and knock down its Risk Level. Risk climbs as you complete missions in a region, and higher Risk means more damage on future missions, up to and including losing a ship for good if it doesn't have enough health to survive. That makes Man-o-Wars more than just powerful ships sitting in your roster. They're what keeps the whole Fleet operation sustainable.
Build a Diverse Fleet
A balanced roster gives you access to all four mission categories. You don't need to collect every possible ship if you have no interest in what it unlocks, though. Not interested in Warehouse activities? You need fewer Frigates. Mostly chasing Reales? Prioritize the ships that run Trade. What the ideal Fleet looks like really depends on what you're trying to get out of it.
How Kenway's Fleet Missions Work
Once you've got a few ships and unlocked some regions, the next step is putting them to work. Each region can offer different missions, and the four mission categories line up directly with the four ship types: Trade with Schooners, Scout with Frigates, Piracy with Brigs, Patrol with Man-o-Wars.
Picking the right ship for the right job matters more than picking the biggest or strongest one available.
Trade Missions
Trade missions convert trade goods into Reales, often for more than you'd get selling directly to a vendor. When choosing between Trade missions, weigh the reward, the goods required, your available Schooners, travel time and the route's current condition. Don't automatically go for the biggest displayed reward. A mission might need goods you don't have, while a smaller one might be easy to finish right now with what you've got.
Scout Missions
Scout missions use Frigates and carry a more strategic role than the others. Their main benefit is resupplying Warehouse activities in the surrounding region, and those heists stay locked until a Scout mission runs there again. If Warehouse content interests you, treat your Frigates as part of that loop rather than just another income source: scout, resupply, complete the heist, scout again when it locks back up.
Piracy Missions
Piracy missions send Brigs out to raid, and the main rewards are materials and trade goods. It's the mission type to lean on if you want resources over straight cash, and it matters for completion too, since Fleet Piracy missions can contribute toward the Art Piece collection.
Patrol Missions
Patrol missions send Man-o-Wars out to reduce a region's Risk Level rather than farm resources directly. The cycle looks like this: run missions, Risk rises, send a Man-o-War on Patrol, Risk falls, keep operating in the region. That cycle becomes more important the further you push into dangerous areas.
Fleet Regions, Forts and Naval Routes
Kenway's Fleet is tied closely to the wider Caribbean map. Every region has a fort, and capturing it does more than remove another enemy stronghold.
Capturing Forts Unlocks Fleet Regions
Fleet initially only gives you access to a limited slice of the map. To open more of it, you capture the forts tied to each region. They're heavily defended and marked on the world map, and taking one clears the fog of war there and unlocks its Fleet missions. Exploring and conquering the Caribbean directly expands what your Fleet can do, and the forts get tougher, along with the missions attached to them, the further you push.
Fleet Routes
Some routes are more dangerous than others, and the interface flags when a route presents a bigger threat. In the documented example, you can enter a naval encounter to secure a dangerous route before running regular missions through it. Beat the ships protecting it and the route turns safe, making later missions easier. Because this appears to reflect an earlier version of the Fleet system, treat the exact route mechanics and resource costs as something to verify against the current Resynced build rather than gospel. The underlying lesson still applies: check a route's condition instead of blindly assigning ships to whatever mission is available.
Choosing a Route
Before committing a ship, run through a quick checklist: Is the route safe? Do I have a suitable ship? What's the success chance? How long will it take? What's the reward? How much Risk will this add? That approach matters more once you're juggling several regions at the same time.
Fleet Naval Battles and Success Chance
Some routes involve naval combat before your ships can safely work them. In the documented interface, you select vessels for the encounter and see an Odds of Success indicator before launching the fight, which gives you real information before you commit anything.
Check Your Odds of Success
Look at the displayed success chance before starting a Fleet battle. If one powerful ship already gets you close to a guaranteed win, there's little reason to commit more vessels. A genuinely dangerous encounter might justify sending a second ship if it meaningfully improves your odds, but don't throw your whole Fleet at every fight just because you can. Use enough strength for a reliable result and keep the rest available for regular missions.
Choosing Ships for Fleet Battles
Ship quality and combat strength matter more as routes get harder. A strong vessel can turn a dangerous encounter into an easy one, while weaker ships may need backup. The earlier documented version of the system also described positional bonuses tied to Speed and Firepower for selected ships, though those specific bonuses should be confirmed in Resynced before you treat them as current mechanics.
Sending multiple ships makes sense when the route is dangerous, your success chance is too low with one vessel, the enemy force is clearly stronger, you want the fight over quickly, or you've got spare ships to support it. There's a cost either way, though: every ship in a naval encounter is unavailable for another mission in the meantime. If one Man-o-War can handle it comfortably, throwing three at the fight just cuts into how much else you can run at once.
Travel Time Matters
Ship speed affects how long a mission takes to complete. When several ships could handle a mission, a faster one finishes sooner, which matters if you're trying to keep the Fleet running continuously. A slow ship with a high success chance is fine for a long mission, while speed pays off more on shorter assignments where you're trying to cycle through missions quickly. Speed shouldn't be the deciding factor on its own, though. A fast ship isn't the right pick if the route is dangerous and it doesn't have the strength or health to survive it. In rough order, prioritize reliable success, then ship survival, then reward, then travel time.
Managing Fleet Risk, Ship Damage and Permanent Loss
The longer you run Kenway's Fleet, the more attention your ships' condition and each region's Risk Level deserve. Missions aren't consequence-free. Ships take damage doing them, and sending already weakened vessels into dangerous regions can eventually get them destroyed for good.
What Raises Regional Risk?
Risk builds up with activity in a region. The more missions you run there, the higher it climbs, and the higher it gets, the more damage your ships take on later missions. A region that felt perfectly safe earlier in the game can turn considerably more dangerous after repeated Fleet activity, so don't treat Risk as a number you can ignore. Check a region's condition periodically if you're running missions there repeatedly, especially before committing a valuable ship.
What Happens When Risk Gets Too High?
Higher Risk means more potential damage per mission, and eventually a ship might not have enough health left to survive one. If that happens, it's destroyed and permanently removed from your Fleet, which stings badly if you'd invested time into getting it. The fix isn't to stop using Fleet altogether. It's managing the relationship between missions, Risk, ship health and Patrols.
Use Patrol Missions to Control Risk
This is where Man-o-Wars earn their keep. Patrol missions send your biggest ships into a region to intimidate enemies and lower its Risk Level. The cycle: run Trade, Piracy or Scout missions, watch Risk climb, send a Man-o-War on Patrol, watch it drop, resume normal operations. Keeping a couple of Man-o-Wars available gives you a way to keep profitable regions running instead of abandoning them once Risk gets uncomfortable.
Repair Ships Before Sending Them Back Out
Ships take damage doing Fleet work, so check health and repair before assigning a damaged vessel to another demanding mission. This matters more in high-Risk regions specifically, where a ship that would coast through a safer mission could struggle badly.
Can Fleet Ships Be Destroyed Permanently?
Yes. If a ship doesn't have enough health to survive a mission, it's gone, and you'll need to capture another to fill that role. Treat ship health as something to actively manage rather than cosmetic damage you can shrug off, and don't send a valuable ship into a dangerous mission just because it happens to be the one sitting free.
Ship Quality, Star Ratings and Building a Stronger Fleet
Not every captured ship is worth the same amount. Early on, you'll probably add almost anything useful just to fill out the required roles. As you unlock harder regions and tougher missions, quality starts to matter a lot more, and it's worth paying attention to a vessel's star rating before deciding whether to board and keep it.
That doesn't mean scrapping every lower-rated ship the moment something better comes along. A weaker vessel still has a place on easier missions, low-Risk regions, filling a role you're otherwise missing, or shorter, safer assignments. The real goal is gradually swapping in better options as they show up, not clearing house every time.
When you're out sailing and looking for ships to add, don't just check whether you can successfully board one. Check its quality too. If you're already near Fleet capacity, another mediocre vessel might not be worth the berth it takes up.
Legendary Ships
Legendary Ships are worth special attention here. They're identified as some of the more reliable vessels available for Fleet duty, which gives you another reason to chase your Legendary Ship objectives beyond the naval fight itself.
When Should You Replace a Fleet Ship?
Consider swapping a ship out when a better-rated vessel becomes available, you've hit Fleet capacity, the current ship keeps struggling with harder missions, you need to change your Fleet's composition, or you want something stronger for a specific role. This becomes more relevant once you've unlocked several regions and more ships are competing for limited berths.
Fleet Capacity, Berths and Managing Your Roster
Your Fleet has limited space, so eventually you have to decide which ships actually deserve a permanent spot.
Expanding Your Fleet
Increasing capacity ties into upgrading the mansion on Great Inagua, a campfire upgrade on the beach, and additional slots purchased through the Fleet menu, with a documented maximum of 10 berths. Since these mechanics come from earlier source material, verify exact costs and requirements against the current Resynced build before treating them as final. The strategic principle holds regardless: more berths mean more flexibility, letting you maintain a broader mix of Schooners, Frigates, Brigs and Man-o-Wars without constantly discarding ships.
Don't Fill Every Berth Just Because You Can
A full Fleet isn't automatically an efficient one. If your berths are occupied by ships that don't match what you're actually running, managing the Fleet gets more awkward, not less. Focused on money? Prioritize Trade-capable vessels. Chasing Warehouse activities? Frigates matter more. If you don't care about a particular activity, you don't need a large number of ships dedicated to it.
Should You Scrap Fleet Ships?
You can dismantle ships to free up berths, but scrapping isn't particularly profitable and is better treated as a last resort, especially if you're just replacing one ship with a marginally better one. Before scrapping anything, ask whether it still fills a role you need. If yes, keeping it is often more useful than an immediate swap. If you've already got several better ships covering that same role, though, freeing the berth for something stronger makes more sense.
Build Around Your Goals
There's no single Fleet composition every player needs to follow. Prioritize Schooners when Trade and income matter most, Frigates when you want Warehouse activities kept supplied, Brigs for Piracy and completion goals, and Man-o-Wars whenever regional Risk needs managing. A balanced Fleet gives you the most flexibility, while a specialized one can be worth it if you're chasing a particular objective. Every berth should have a reason for being occupied.
Choosing the Best Fleet Missions
Once you've got several ships and multiple regions open, don't just send whichever vessel happens to be free. A few factors decide which mission is actually worth running.
Check the reward. Trade missions pay in Reales, other types hand back materials or resources, and a big reward doesn't help if you don't have what the mission actually requires.
Check your success chance. If it's already high, adding more ships probably isn't worth it. A dangerous mission might genuinely need the extra strength first.
Consider travel time. When several ships could handle the same mission, a faster one gets back sooner and can be reassigned immediately, which matters for keeping the Fleet working continuously.
Consider the region's Risk. A profitable mission in a high-Risk region can expose your ship to a lot more damage than the same activity somewhere safer. If Risk is already too high, run a Man-o-War on Patrol before sending anything valuable in.
Check the resources required. A theoretically lucrative mission isn't worth much if you don't currently have what it asks for. Look at the entire mission, not just the number next to the reward.
Kenway's Fleet Rewards
Fleet pays out in more than one way, which is part of what makes it worth running consistently.
Trade missions are the most straightforward source of Reales, often producing a better payout than simply selling goods at a nearby vendor. Fleet missions in general return trade goods and materials useful elsewhere in your playthrough, with Piracy missions in particular sending ships out to loot both. Successful naval encounters can also hand back additional resources, including trade goods and gems in the documented implementation, though the exact Resynced reward structure is worth confirming before you plan a farming route around specific numbers.
Fleet matters for completion too. Piracy missions can contribute to the Art Piece collection, which makes the system worth maintaining even once your immediate Reales needs are covered.
Building the Best Fleet for Your Playstyle
There's no single Fleet setup every player needs. The right composition depends on what you actually want out of the system.
| Goal | Priority Ships |
|---|---|
| Making money | Schooners for Trade, with other types supporting income and Risk management |
| Warehouse activities | Frigates for Scout missions that resupply the heists |
| Resources and completion | Brigs for Piracy missions and Art Piece progress |
| Risk management | Man-o-Wars for Patrol missions that lower regional Risk |
| All-around flexibility | A balanced mix of all four classes |
For most players, a mixture of all four classes offers the most flexibility, and you can shift the balance as your priorities change: more Schooners when Reales are tight, more Frigates while working through Warehouse activities, more Brigs when hunting resources or completion rewards, more Man-o-Wars when Risk starts becoming a problem.
How to Make Reales With Kenway's Fleet
Fleet works well as a passive income system once it's set up properly. The basic loop is simple: assign missions, keep playing, let the Fleet complete them, collect rewards, assign new missions. Trade missions should form the foundation of a money-focused Fleet. Rather than immediately selling every trade good you pick up, check whether a Fleet Trade mission offers a better return first.
Capturing additional forts opens more regions and therefore more Fleet activity, so expanding your territory naturally gives your ships more to do. Keep Risk under control rather than squeezing one extra mission out of a dangerous region at the cost of a high-quality ship, and don't let berths sit idle. An unassigned ship isn't earning anything. For farming routes and other income methods beyond Fleet itself, our guide to earning Reales fast covers the rest of the economy.
The Best Kenway's Fleet Routine
The easiest way to get consistent value out of Fleet is turning it into a habit rather than something you check occasionally.
When You Start Playing
Open Kenway's Fleet and check your Mission Reports, collect completed rewards, check ship health, repair what's damaged, check Risk Levels, look for available missions and assign appropriate ships.
During Your Play Session
While playing normally, capture worthwhile enemy ships, swap in better vessels as they become available, keep an eye on Risk, run Patrol missions where needed, collect completed Fleet missions and keep suitable ships assigned to new ones. This turns Fleet into a background system that quietly supports your main progression instead of something separate from it.
Before You Log Out
This is arguably the most useful habit of all. Before leaving the game, check for completed missions, collect the rewards, repair damaged ships, look for available missions, assign your available vessels, and let the Fleet keep working while you're away. When you come back, collect the completed missions and start the cycle over.
Kenway's Fleet and 100% Completion
If you're going for full completion, Fleet isn't something to safely ignore until the endgame. Several systems tie back into it directly. Piracy missions feed the Art Piece collection, so it's worth paying attention to Fleet rewards from early on rather than leaving them for the final stretch. Scout missions restore Warehouse activities in the regions they cover, giving completion-focused players another reason to keep Frigates around. Trade and Piracy missions also help maintain the money and resources you'll need for other upgrades along the way. Fleet isn't isolated from the rest of the game. It feeds into several other progression systems at once.
Common Kenway's Fleet Mistakes
Ignoring Risk
Running mission after mission in the same region without checking Risk eventually puts your ships in danger.
Sending Damaged Ships Back Out
A damaged ship may not have enough health to survive a difficult mission. Repair it first.
Using the Wrong Ship
Keep the basic pairing straight: Schooner for Trade, Frigate for Scout, Brig for Piracy, Man-o-War for Patrol.
Filling Every Berth With Weak Ships
Fleet capacity is valuable. Don't waste space on vessels you're unlikely to actually use.
Scrapping Ships Too Quickly
A vessel that seems unimportant now might become useful once your Fleet expands. Treat dismantling as a last resort, especially when you're just replacing a ship with something marginally better.
Ignoring Ship Quality
Star ratings and vessel quality matter more as Fleet missions get harder.
Forgetting Scout Missions
If Warehouse activities interest you, Frigates are doing more than just completing Fleet missions on their own.
Leaving Fleet Idle
One of the easiest mistakes to avoid. Check Fleet before you stop playing and send available ships on useful missions.
Risking Valuable Ships for Small Rewards
A small reward isn't worth losing a high-quality vessel. Always weigh a mission's reward against its Risk and success chance.
Kenway's Fleet FAQ
How do you unlock Kenway's Fleet in Black Flag Resynced?
Progress through the early story until you gain access to the Great Inagua mansion, then capture at least one fort to unlock Fleet activity in that region.
Where can you access Kenway's Fleet?
The Fleet map is available from Great Inagua and from the Captain's Cabin aboard the Jackdaw.
How do you add ships to Kenway's Fleet?
Board and defeat suitable enemy ships, then choose to add them to your Fleet when the option comes up.
What are the four Fleet ship types?
Schooners, Frigates, Brigs and Man-o-Wars.
What ship is used for Trade missions?
Schooners.
What ship is used for Scout missions?
Frigates.
What ship is used for Piracy missions?
Brigs.
What ship is used for Patrol missions?
Man-o-Wars.
What does Risk Level do?
Higher regional Risk increases the damage ships can take while completing missions there.
Can Fleet ships be destroyed permanently?
Yes. A ship that fails a dangerous mission without enough health left can be permanently lost.
How do you lower Fleet Risk?
Patrol missions using Man-o-Wars reduce a region's Risk Level.
Why are Scout missions important?
They resupply Warehouse activities, making those heists available again in the relevant region.
Should you keep every captured ship?
No. Build your roster around the ship types and activities you actually intend to use, and gradually replace weaker vessels with better-quality ones.
Do ship ratings matter?
They matter more as you unlock harder Fleet regions and missions.
Are Legendary Ships useful for Fleet?
Yes. Legendary Ships are identified as some of the more reliable Fleet vessels available.
Final Tips for Mastering Kenway's Fleet
Kenway's Fleet gets a lot easier once you stop treating it as a separate minigame and start folding it into your normal progression loop. Capture useful ships while you're already out exploring, maintain a mixture of vessel types, and match each one to the mission it's actually built for. Keep an eye on Risk, use Man-o-Wars to keep dangerous regions in check, and repair damaged vessels before sending them into anything difficult.
Pay attention to ship quality as you progress, keep Frigates around if you rely on Warehouse activities, and hang onto a few good Brigs if you're chasing Fleet-related collectibles. Most importantly, don't let the Fleet sit idle. Check it when you start playing, collect completed rewards, assign new missions during your session, and send your ships back out before logging off. Kept up consistently, Fleet becomes a steady background source of money, resources and progression for the rest of Edward Kenway's adventure. For the ship upgrades that make the naval side of the campaign easier in general, check out our Best Jackdaw Upgrades guide.
Note: This guide reflects Assassin's Creed Black Flag Resynced based on hands-on play and available gameplay information, and some Fleet mechanics referenced here come from earlier documented versions of the system. As we confirm specific costs, rewards and route details against the current build, we'll keep this guide updated. Check out our Assassin's Creed Black Flag Resynced Guide Hub for more on Jackdaw upgrades, resource farming and Legendary Ship strategies.