

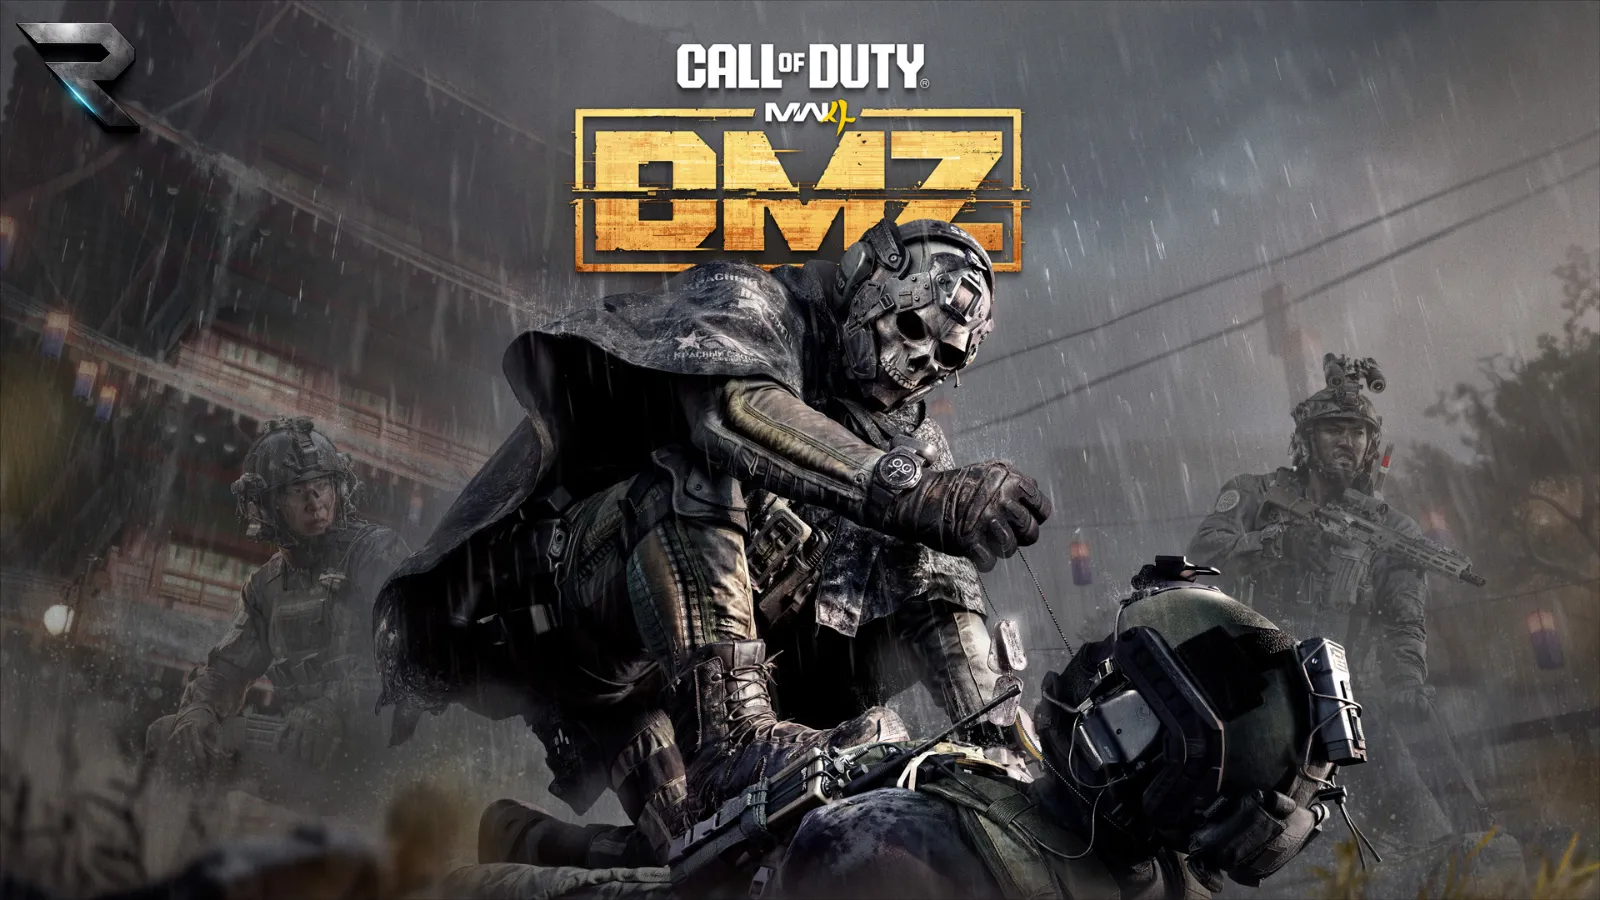
Infinity Ward has detailed how DMZ will work in Call of Duty: Modern Warfare 4, and it goes well beyond a straight return of the extraction mode. The studio's first deep dive covers persistent progression, a base that expands over time, dynamic objectives, roaming bosses, rival Operators and a map that gets more dangerous the louder you play.
Everything happens in Hajin, a large exclusion zone. Squads deploy in, loot resources, finish objectives, hunt high-value targets, fight AI forces and rival Operators, then extract before things turn ugly. What survives the trip home feeds long-term progression, so each deployment is one piece of a bigger loop rather than a standalone match.
Hajin and Its 60-Plus Locations
The Exclusion Zone has more than 60 named locations, hundreds of buildings and plenty of smaller areas players are expected to find on their own. The terrain shifts between dense urban districts, farmland, forests, industrial zones, waterways, military compounds and heavily fortified sites. Some areas make for gentler starting points, while others push players toward harder fights.
Named locations include the 14th Political Prison, Chang-san Air Base, Deadtown, Imjin Farmland, Cheongun Village, Mirae General Hospital, Cheonwang Peak Array, Haneul Nuclear Reactor, NuriGO Mall, The Grid, Songdo Wharf, Wolves Stadium and Hajin River Heights.
Several of them come with their own rules. The Haneul Nuclear Reactor has severe radiation hazards and requires proper protection, and The Grid is one of the most heavily fortified parts of the map. NuriGO Mall pairs dense urban combat with a large underground shopping area, and a number of locations have vertical spaces that can turn fights into rooftop or close-quarters brawls. Villages, ridges, dams and riverside spots fill the gaps and can offer resources or alternate routes.
Three Ways to Deploy
Players choose how they want to enter Hajin. Story Missions let squads pick and replay narrative objectives across the map for substantial rewards. Dynamic Operations are more immediate: you can select one before deploying or find a Dynamic Ops phone while already in Hajin. Finishing one awards DMZ XP and DMZ Cash, followed by a Supply Drop for the squad. Successful operations raise the drop's rarity from Common to Uncommon and then Rare.
Free Roam drops the mission requirement entirely and lets players simply explore. Someone after structured progression can work through Orders and Story Missions, and a squad that wants to poke around can do that without a marker telling it where to go.
The Threat Level System
The most interesting system in the reveal is Hajin's Threat Level. Every major Point of Interest carries a rating from Low to Extreme that signals how dangerous the AI response there is likely to get. It is not a fixed difficulty setting. Sustained combat and aggressive play raise the response, bringing in more and tougher enemies, and a manageable fight can snowball if you keep pushing instead of disengaging.
That gives stealth a real purpose. Breaking contact, taking cover and slipping into quieter areas can bring the pressure down, and suppressed weapons, melee attacks and throwing knives let players get through dangerous spots without escalating things.
One catch: human Operators are not part of the Threat Level indicator. The game can tell you how hot the environment is getting, but it can't tell you whether another squad is waiting around the next corner.
Progression, Orders and the After Action Report
The main DMZ progression track runs from Level 1 to Level 70, and several activities feed it at once. Looting is the baseline. Containers, caches, lockers and supply boxes hold weapons, equipment, consumables and crafting materials, keys open special loot areas, and hidden entrances and underground spaces reward players who look around.
The game does not want you to spend a whole deployment opening boxes. A good run balances Looting, Combat and Objectives, and all three count toward the After Action Report at the end. S-Tier performance or better earns the best rewards, so how you played before extracting matters as well as whether you made it out.
DMZ Orders are the structured mission layer. They introduce Hajin's systems, point players at specific activities and locations, advance the DMZ storyline and pay out rewards. Some are simple, while others call for better gear, more preparation or a squad that can adapt on the fly. Orders can be reviewed at the FOB before a deployment and accessed through the Tac-Map during a match, and they are one of the more reliable ways to earn DMZ XP and stock up for future runs.
Lieutenants, Commanders and the Enemy Roster
High-value targets come in layers. Lieutenants can be hunted for DMZ XP, DMZ Cash and loot, and their general locations are revealed through Lieutenant Hunt towers, which also count as Side Operations. Killing one can drop their weapon and Dog Tag Case, but the case shows up on the Tac-Map for other Operators. Picking it up broadcasts your position, so you have to decide whether the trophy is worth announcing yourself to the whole area.
Commanders are roaming bosses that can appear across Hajin and are far tougher than ordinary enemies. Fighting one can pull in AI reinforcements, rival Operators and other squads chasing the same kill. Successful takedowns pay out high-value loot, DMZ XP, DMZ Cash, 3D Printer Ingredients and progress on the FOB's Boss Board. Colossus, Deathstalker and the Main NK Battle Tank are the Commanders named so far.
The regular AI covers Tier 1 North Korean Grunts, more heavily protected Tier 2 soldiers, Tier 3 armored gas-masked enemies and Tier 4 faceless armored soldiers. Beyond infantry, Hajin has autonomous combat drone swarms, LMG combat drones, autonomous K9 quadrupeds, attack infantry helicopters and road convoys. Rival human Operators sit on top of all that, which is where the PvPvE identity comes from. The AI can interfere in player fights, reinforce areas that have gotten too loud and turn a simple objective into an escalating mess.
Also Read: ARC Raiders Frozen Trail Extended Look Reveals Andala Pass, Flash Freeze and the Frigate Challenge
The FOB and Weapon Economy
The Forward Operating Base is the backbone of DMZ's persistence. Players start with a limited base and unlock more Stations through successful deployments, eventually reaching more than a dozen facilities:
- Operators: manage Active Duty Operators, check their status and upgrade their Traits.
- Stash and Loadout: stores extracted weapons, equipment, 3D Printer Ingredients and other resources, and is where you prepare for the next deployment.
- DMZ Orders: handles the mode's structured missions.
- Firing Range: for testing weapons and optics.
- 3D Printer: uses Printer Resources and Ingredients to craft gear and upgrade other FOB stations.
- Gunsmith: lets you spend DMZ Cash on attachments for extracted weapons, and build new weapons from scratch using Weapon Manuals.
- Vendor: sells weapons and equipment for DMZ Cash, with stock that rotates daily.
- Bounty Leaderboard: tracks successful PvP bounty hunters and killers.
- Boss Board: provides intelligence on Lieutenants and Commanders.
- Dog Tag Case: displays trophies taken from defeated Operators.
- DMZ Progression: unlocks more FOB stations, recipes and content all the way to Level 70.
Weapons are part of a longer economy, not something you discard after each match. You can extract weapons, bring them back and buy attachments with DMZ Cash. Building from scratch needs Weapon Manuals and the right progression, and finding and extracting more of them expands what you can make. A Weapon Manual can therefore be worth more than another high-tier gun in your hands, since it is an investment in later builds. The same goes for 3D Printer Ingredients and other crafting resources.
Vehicles, the Tac-Map and Extraction
Hajin can be crossed by land, water and air, with ground vehicles ranging from civilian transport to protected military options, plus boats, trains and aircraft. Unlike Warzone, DMZ vehicles have finite fuel and armor and need repairs and refueling. That makes Gas Stations, and Marine Gas Stations for watercraft, useful stops. A vehicle gets you to an objective faster but makes noise and can give away your position.
The Tac-Map shows mission objectives, Points of Interest, enemy compounds, important buildings, supply locations, threat areas, the radiation zone and player positions. A grid system lets squads call out locations by coordinates, and the map tracks the spreading radiation so players know how long they have before conditions worsen. It also handles Orders, pings and route planning.
Exfil points appear around Hajin and are marked with green smoke. Calling in the Twin Heli Exfil starts extraction, but the squad has to hold the area until the helicopter arrives. Enemy pressure can build around the point, and rival Operators can use it as an ambush site. Alternate options include a Fulton balloon or Flare. A loud exfil can be spotted from far away, so a squad carrying valuable loot may be advertising exactly where its run ends.
For communication, Proximity Chat covers direct talk with nearby Operators, and the Ping Wheel handles visual callouts. The Ping Wheel can also be used to request a Truce or assimilate with another squad, though whether anyone accepts is up to them.
More DMZ Details Are Coming This Week
Infinity Ward has confirmed a second DMZ deep dive later this week. It will focus on the FOB, including the 3D Printer, Bounties, weapon acquisition, Stashes and Loadouts, Active Duty Operators, Operator Prestiging, Permanent Prestige Traits and the full Level 70 progression system.
Taken together, the first deep dive paints DMZ as a set of connected systems more than a single loop. You pick a run type, loot, work Orders or Dynamic Operations, hunt bosses or rival squads, manage vehicles, decide whether to stay quiet or go loud, then extract and carry the results back into your FOB, Operators and weapons. With a persistent base, Level 70 progression, crafting, rotating vendors, bounties and a large open map, DMZ looks like it could be Modern Warfare 4's longest-running hook alongside Campaign and Multiplayer. The goal is less about surviving one match and more about making the next deployment better than the last.