
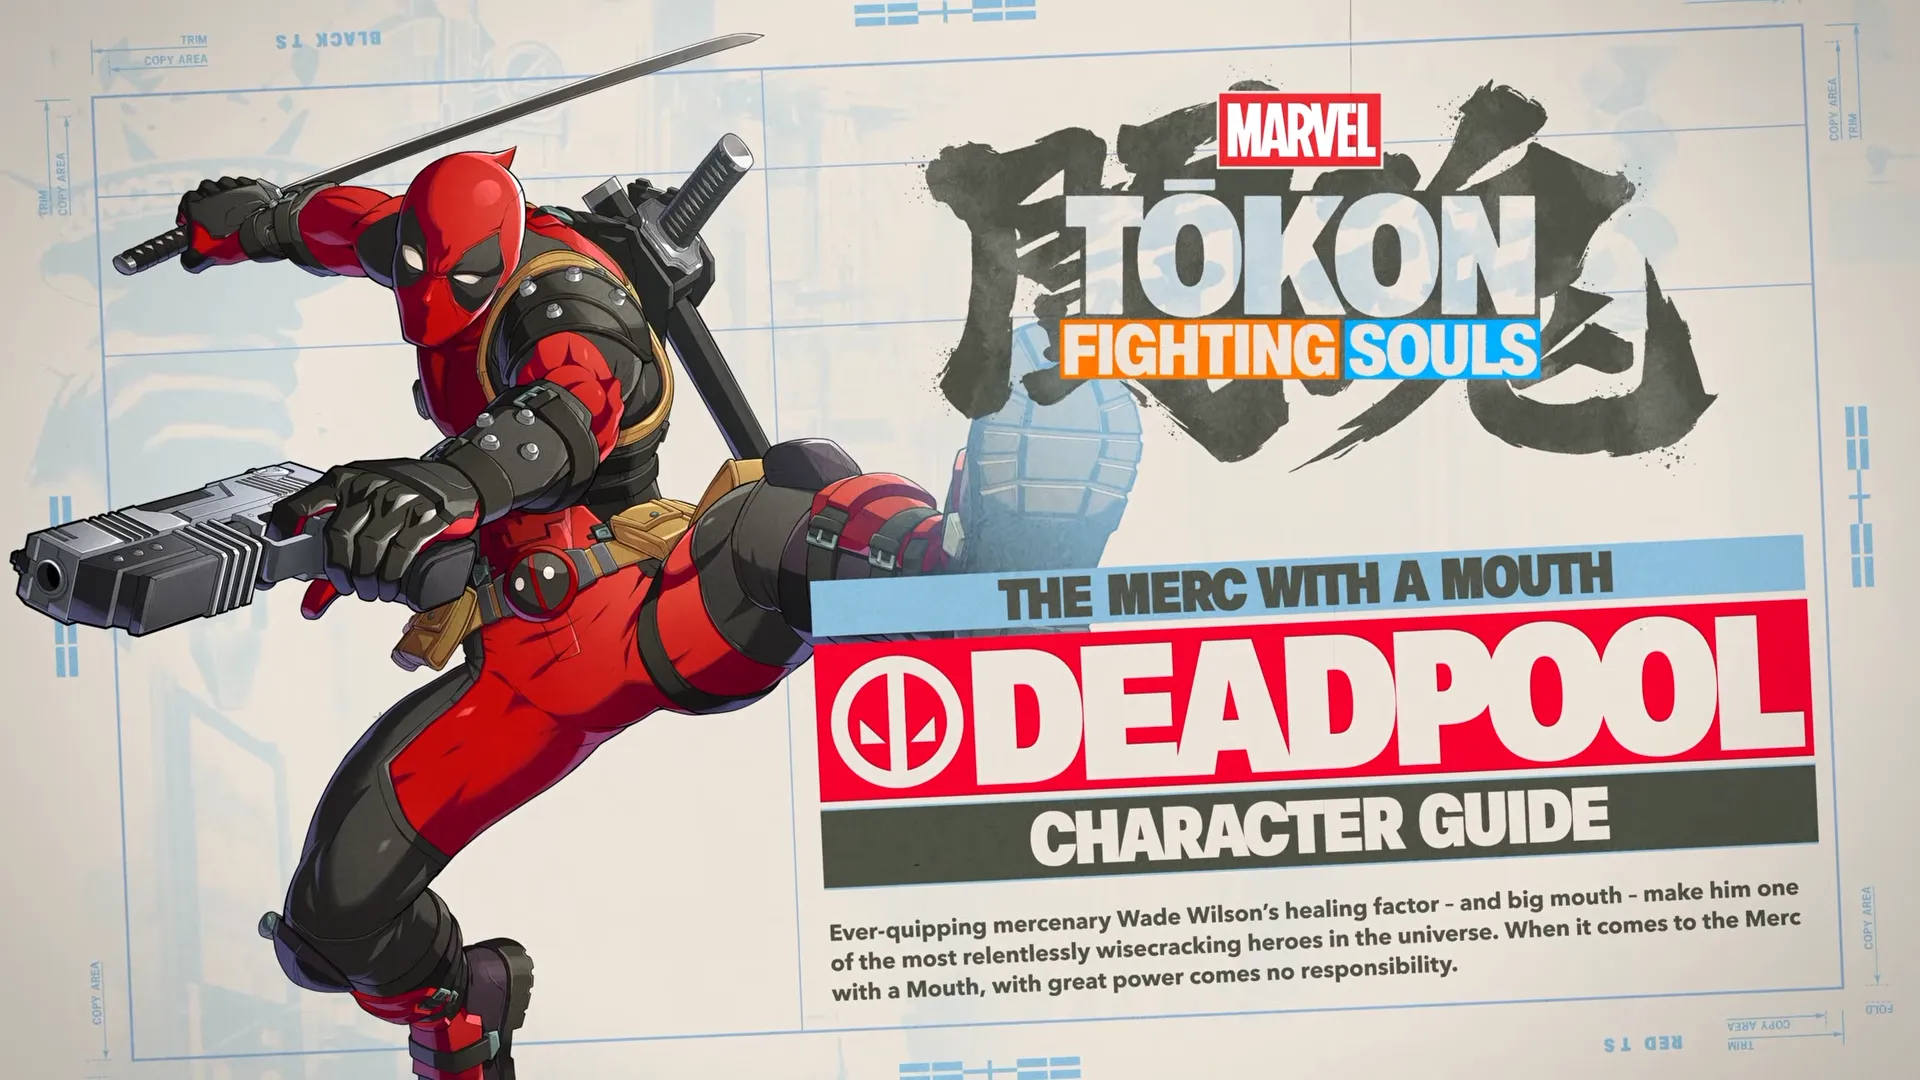
Deadpool Overview
Deadpool doesn't play the same game as everyone else on the roster. In Marvel Tōkon: Fighting Souls, the Merc with a Mouth builds his offense around a question most fighters never have to ask: how much of your own health are you willing to spend to win? His attacks hit hard from nearly every range, but the real hook is the Healing Gauge, a resource he fills by deliberately trading Vital Gauge for future recovery through his Fourth Wall Attacks.
That trade-off runs through everything he does. Sword strikes, firearms, grenades, aerial dives; Deadpool has an answer for almost any situation, and chaining those tools into longer combo routes is what makes him dangerous once the fundamentals click. Learning when a fight calls for pressure and when it calls for patience is most of the battle.
This guide covers Deadpool's complete kit for Marvel Tōkon: Fighting Souls, including his normal attacks, throws, Link Attacks, Special Skills, the Healing Gauge and Fourth Wall Attack systems, his three grenade types, Super Skill, Ultimate Skill, Tōkon Assemble, assist options, and the strengths, weaknesses, and beginner habits worth knowing before you take him online.
In This Guide
- Deadpool Move List
- Basic Controls
- Normal Attacks
- Throws
- Link Attacks
- Special Skills
- Healing Gauge & Fourth Wall Attacks
- Grenade System
- Assist Types
- Super Skill: Fever Dream
- Ultimate Skill: Deadpool Corps
- Tōkon Assemble
- Strengths & Weaknesses
- Beginner Tips
- Is Deadpool Worth Learning?
- Deadpool FAQ
- Final Thoughts
Deadpool at a Glance
- Archetype: Rushdown / Trickster
- Difficulty: Intermediate
- Best Range: Close to Mid Range
- Strengths: Fast offense, versatile Specials, Healing Gauge recovery, unpredictable pressure.
- Weaknesses: Demands sharp resource management and punishes careless health sacrifices.
- Best For: Players who enjoy calculated risk-taking as much as fast-paced offense.
Deadpool Move List
Here's every move covered in this guide at a glance.
| Move | Type | Cost |
|---|---|---|
| Death From Above | Aerial Special | 25 Skill Gauge |
| Foot Dive | Aerial Special | 25 Skill Gauge |
| Burning Haymaker | Melee Special | 25 Skill Gauge |
| Lightning Tornado Upper | Launcher Special | 25 Skill Gauge |
| Random Bullshit, Go! | Projectile Special | 25 Skill Gauge |
| Rope-a-Dope | Counter Special | 25 Skill Gauge |
| Slice 'N Dice | Melee Special | 25 Skill Gauge |
| Chimichanga Chop | Melee Special | 25 Skill Gauge |
| Fever Dream | Super Skill | 50 Skill Gauge |
| Deadpool Corps | Ultimate Skill | 100 Skill Gauge |
| Tōkon Assemble | Team Ultimate | 150 Skill Gauge |
Basic Controls
Deadpool runs on the same control scheme as the rest of the Marvel Tōkon: Fighting Souls cast. Every input reference in this guide sticks to the game's official terminology.
| Input | What It Does |
|---|---|
| Light (L) | Fast attacks that open pressure and start combo strings. |
| Medium (M) | Balanced attacks that naturally extend combo routes. |
| Heavy (H) | Powerful attacks that launch opponents or extend damage. |
| Quick Skill (QS) | Activates Deadpool's Special Skills, many with multiple follow-up variations. |
| Super Skill | Spends Skill Gauge for stronger offensive techniques. |
| Ultimate Skill | A devastating cinematic attack capable of massive damage. |
| Tōkon Assemble | A comeback mechanic that unleashes a team attack under specific conditions. |
| Assist | Calls in a teammate to extend combos, apply pressure, or control space. |
Deadpool rewards players who stay on the offensive while constantly adapting. Rather than leaning on one dominant tool, his kit mixes aerial movement, close-range pressure, projectile options, and resource management into one fluid plan, and it becomes even more rewarding once you're comfortable trading health for Healing Gauge at the right moments.
Normal Attacks
Deadpool's normals lean on speed and combo flexibility rather than raw reach. His Lights open pressure fast, while Mediums and Heavies add damage, range, and stronger launches. Learning how they flow into Link Attacks and Skills is the foundation of everything else in his kit.
Standing Normals
| Move | What It's Good For |
|---|---|
| Standing Light (L) | His fastest grounded attack and main combo starter. Quick enough to punish unsafe moves and confirm into longer strings. |
| Standing Medium (M) | Extra reach and damage while extending Light strings, bridging quick pokes into heavier combo starters. |
| Standing Heavy (H) | His strongest grounded normal, launching opponents into aerial combos or Special Skills. |
Crouching Normals
| Move | What It's Good For |
|---|---|
| Crouching Light (2L) | A quick low that challenges opponents walking forward or defending high, useful for mix-ups. |
| Crouching Medium (2M) | Extra reach with reliable combo potential, a safer poke before committing to bigger offense. |
| Crouching Heavy (2H) | His primary launcher and anti-air, opening aerial combo routes on hit. |
Jumping Normals
| Move | What It's Good For |
|---|---|
| Jumping Light (j.L) | A fast aerial attack for air-to-air exchanges and quick jump-in pressure. |
| Jumping Medium (j.M) | Extra reach for aerial combo extension and cross-up attempts. |
| Jumping Heavy (j.H) | His strongest aerial normal, ideal for ending air combos and setting up pressure after landing. |
A typical sequence opens with a quick Light to confirm the hit, extends with Mediums for added damage, and finishes with a Heavy to launch before canceling into a Skill or calling an Assist. Because Deadpool thrives on staying unpredictable, mix grounded and aerial approaches rather than repeating the same string.
Throws
Deadpool's throws give him another way to punish opponents who lean too hard on blocking.
| Throw | What It Does |
|---|---|
| Forward Throw | Sends the opponent forward and creates space for continued pressure. |
| Back Throw | Reverses positioning, useful for escaping the corner or repositioning the opponent. |
| Air Throw | Intercepts airborne opponents before they can safely continue their offense. |
Link Attacks
Link Attacks connect Deadpool's normals to his Special Skills and longer combo routes, letting him keep pressure going instead of stopping after a few hits.
Link Attack Types
- Light Link Attack: A fast, reliable combo extension that works well after confirming grounded pressure. A good starting point for beginner routes.
- Medium Link Attack: Deals more damage with extra hit stun, making it Deadpool's most consistent extension for Skill confirms.
- Heavy Link Attack: Launches opponents higher, opening the door to his more damaging aerial sequences and Special Skills.
Special Skills
Deadpool's Special Skills define his gameplay more than any other part of his toolkit, from aerial dives and melee strikes to unpredictable projectiles and a deceptive counter. Several also interact with his Fourth Wall Attack mechanic, letting him trade Vital Gauge for Healing Gauge.
Death From Above
Skill Gauge Cost: 25
Death From Above launches Deadpool into the air before he crashes down on the opponent, working as both a mobility tool and an offensive starter. It carries three follow-up variations: Light for the fastest continuation; Medium for a balanced mix of speed and damage; and Heavy for the highest damage once a hit is already confirmed.
Foot Dive
Skill Gauge Cost: 25
Foot Dive drops Deadpool from above with a diving kick, doubling as an approach tool and a combo extender during aerial exchanges or after a launcher. Mixing it with Death From Above keeps his aerial approach from getting predictable.
Burning Haymaker
Skill Gauge Cost: 25
Burning Haymaker trades speed for a flaming punch that rewards confirmed hits with strong combo damage and corner pressure. It fits best into grounded routes after Deadpool has already established momentum, rather than being thrown out in neutral.
Lightning Tornado Upper
Skill Gauge Cost: 25
A spinning uppercut that launches Deadpool upward, making it one of his best combo starters and a reliable anti-air against opponents attacking from above. Follow it with aerial normals or Foot Dive to maximize damage.
Random Bullshit, Go!
Skill Gauge Cost: 25
Instead of a single projectile, Deadpool throws out a chaotic assortment of attacks that disrupt the opponent's defensive reads and help control neutral. It works best mixed with his other Skills rather than used as a crutch, since its value comes from unpredictability.
Rope-a-Dope
Skill Gauge Cost: 25
A counter-style Skill that rewards patience over aggression. Rather than attacking immediately, Deadpool waits to punish an opponent who gets overeager, making it most effective once they've started respecting his pressure and take a risk to challenge him.
Slice 'N Dice
Skill Gauge Cost: 25
A rapid series of sword strikes that overwhelms opponents at close range and extends many of Deadpool's combo routes. It confirms well after Light or Medium Link Attacks and pairs naturally with assists for longer sequences.
Chimichanga Chop
Skill Gauge Cost: 25
One of Deadpool's heaviest melee attacks, delivering a crushing finisher capable of ending combo sequences with significant damage. It's slower than his other Skills, so it's best reserved for confirmed hits near the end of a combo, ideally paired with a Super Skill to cash out.
Healing Gauge & Fourth Wall Attacks
What separates Deadpool from the rest of the roster isn't his normals or Specials, it's how he manages his own health as a resource. Rather than simply spending Skill Gauge for stronger attacks, several of his moves let him intentionally sacrifice Vital Gauge to build Healing Gauge, which he can later cash in to recover health. Every one of these decisions is a trade-off between immediate risk and long-term payoff.
Healing Gauge Quick Facts
- Built by intentionally converting Vital Gauge through specific attacks and Fourth Wall variations.
- Spent later to recover health, offsetting the cost of riskier offense.
- Works best treated as a long-term investment rather than emergency recovery.
- Good Healing Gauge management is what separates experienced Deadpool players from beginners.
Fourth Wall Attacks are the enhanced versions of several Special Skills that consume Vital Gauge in exchange for extra Healing Gauge. They preserve Deadpool's offensive momentum while building future recovery, but since every activation costs health, they're best used after confirming a hit rather than on a whim.
Fourth Wall Attacks Quick Facts
- Enhanced versions of select Special Skills.
- Cost Vital Gauge, increase Healing Gauge on use.
- Best activated after a confirmed hit, not thrown out recklessly.
- Combine well with longer combo routes to maximize value.
Because several of his strongest tools consume his own health, tracking both the Vital Gauge and the accumulated Healing Gauge matters as much as watching Skill Gauge. Spend too much health too early and there may not be enough left to benefit from the recovery banked later in the round.
Grenade System
Deadpool also carries three grenade types, each suited to a different situation. Knowing when to switch between them matters just as much as learning his combo routes.
| Grenade | What It's Good For |
|---|---|
| Explosive Grenade | Immediate damage, area denial, and extending offensive pressure or combos. |
| Incendiary Grenade | Lingering flames that control space and restrict how an opponent can approach. |
| Stun Grenade | Disrupts opponents to safely start offense, reset pressure, or punish defensive play. |
Assist Types
Deadpool's assists mirror his versatile style, offering support whether you're extending combos, controlling space, or covering aerial approaches for a teammate.
| Assist | What It Does |
|---|---|
| Assemble Rush | Sends Deadpool in with a fast strike; connecting allows an immediate Member Switch to continue the combo. |
| Assemble Assist Aerial | Attacks from above, useful for extending air combos or punishing opponents escaping vertically. |
| Assemble Assist Assault | Advances aggressively, helping aggressive teams maintain close-range pressure. |
| Assemble Assist Vertical | Attacks upward, covering airborne opponents and helping teammates launch into aerial combos. |
| Assemble Assist Shooter | Ranged support that controls horizontal space before teammates commit to offense. |
This lineup makes Deadpool a comfortable fit for both aggressive rushdown teams and more balanced compositions.
Super Skill: Fever Dream
Skill Gauge Cost: 50
Fever Dream is Deadpool's primary Super Skill: a fast, cinematic barrage of strikes that costs far less than his Ultimate. On activation, Deadpool rushes the opponent and unleashes a rapid sequence, and it can be triggered either normally or as a Link Attack follow-up, so it fits naturally into most of his combo routes.
Fever Dream Quick Facts
- Costs 50 Skill Gauge.
- Activates normally or through a Link Attack follow-up.
- Reliable combo finisher that conserves Ultimate meter.
- Best used after a confirmed combo rather than in neutral.
Ultimate Skill: Deadpool Corps
Skill Gauge Cost: 100
Deadpool Corps summons alternate versions of Deadpool for a coordinated, over-the-top assault. After it connects, Deadpool sacrifices a portion of his Vital Gauge in exchange for increased Healing Gauge, so it pays off beyond the initial hit, not just as a cinematic finisher.
Deadpool Corps also has an EX variation. During specific combo routes, holding the required directional input while activating the Ultimate after an M Link Attack triggers an enhanced version before the cinematic starts.
Deadpool Corps Quick Facts
- Costs 100 Skill Gauge.
- Increases Healing Gauge after connecting.
- Supports an EX activation through specific combo routes.
- Best confirmed off a combo rather than spent when Fever Dream would do the job.
Tōkon Assemble (Team Ultimate)
Skill Gauge Cost: 150
Like every fighter in the roster, Deadpool has access to Tōkon Assemble, a cinematic team attack that pairs him with his partner for a coordinated finishing sequence. It's a comeback mechanic rather than a normal combo tool, only available when losing the current round would also cost the match, so it's worth treating as a high-impact resource rather than something to activate the moment it's up.
Tōkon Assemble Quick Facts
- Cinematic team attack with Deadpool's partner.
- Begins with an invincible opening strike.
- Only available when losing the round means losing the match.
- Best confirmed off a combo for maximum value.
Strengths & Weaknesses
Strengths
- Unique Healing Gauge mechanic for long-term recovery.
- Powerful Fourth Wall Attacks that build on offense.
- Strong combo potential and offensive pressure.
- Versatile grenade options for different ranges.
- Flexible assist lineup.
- Strong comeback potential through Healing Gauge and Deadpool Corps.
Weaknesses
- Requires careful resource management.
- Sacrificing Vital Gauge at the wrong time is costly.
- Higher execution demands than straightforward rushdown characters.
- Predictable offense becomes easy to punish.
- Relies on efficient meter usage to stay effective.
Beginner Tips
- Learn each Special Skill individually before combining them.
- Practice managing Healing Gauge instead of treating it as free recovery.
- Mix grounded and aerial approaches to stay unpredictable.
- Rotate between grenade types based on the situation.
- Save Deadpool Corps for confirmed combo finishers.
- Use Fever Dream for reliable damage without spending Ultimate meter.
- Lean on assists to safely continue pressure.
- Avoid sacrificing Vital Gauge unless the reward clearly outweighs the risk.
Is Deadpool Worth Learning?
Deadpool suits players who want fast-paced offense with an added layer of strategy. His Healing Gauge, Fourth Wall Attacks, grenade system, and Special Skills combine into a playstyle that asks for more thought than a typical rushdown character, but the payoff for learning when to pressure, when to sacrifice health, and when to unleash Fever Dream or Deadpool Corps is significant.
He's not a character you can win with on reflexes alone. Whether you're drawn to his personality or his resource management, Deadpool gives you the tools to keep opponents guessing while delivering real damage throughout a match.
Deadpool FAQ
Is Deadpool beginner-friendly in Marvel Tōkon: Fighting Souls?
He's best suited for intermediate players. His basic attacks and combo routes are easy enough to pick up, but mastering the Healing Gauge and Fourth Wall Attacks takes good timing and smart decision-making.
What makes Deadpool unique?
The Healing Gauge. Instead of treating health as something to only protect, Deadpool can intentionally sacrifice Vital Gauge through certain attacks to build Healing Gauge and recover later, creating a risk-versus-reward playstyle unlike most of the launch roster.
How do Fourth Wall Attacks work?
They're enhanced versions of specific Special Skills. Using one costs Vital Gauge but increases Healing Gauge in return, so knowing when to trade health for future recovery is one of the more important skills to build.
What is Deadpool's Ultimate Skill?
Deadpool Corps. It summons alternate versions of Deadpool for a cinematic attack that deals heavy damage and increases his Healing Gauge after a successful hit.
What is Deadpool's Super Skill?
Fever Dream. It costs 50 Skill Gauge and delivers a fast sequence of attacks that works well as a reliable combo finisher without spending Ultimate meter.
Which grenade should I use?
Explosive Grenade is best for direct damage and offensive pressure, Incendiary Grenade controls space with lingering flames, and Stun Grenade creates openings to safely start pressure or extend combos. Switching between them based on the situation is part of mastering him.
Does using Fourth Wall Attacks permanently reduce Deadpool's health?
No. Fourth Wall Attacks consume a portion of Deadpool's Vital Gauge to build Healing Gauge, allowing him to recover that health later through his unique mechanics. Using them effectively is all about choosing the right moment to make that trade.
Is Deadpool a rushdown character?
Yes, but with a twist. He thrives at close range and excels at maintaining pressure, though his gameplay is heavily shaped by Healing Gauge and Fourth Wall Attack management.
Which Assist Type is best?
There isn't a single best pick. Assemble Rush extends combos, Aerial Assist supports air pressure, Assault Assist maintains offensive momentum, Vertical Assist controls aerial space, and Shooter Assist provides ranged support during neutral. The right choice depends on your team composition.
Key Takeaways
- Deadpool is a rushdown character built around risk-and-reward resource management.
- The Healing Gauge lets him convert lost Vital Gauge into future recovery.
- Fourth Wall Attacks strengthen his offense while feeding the Healing Gauge.
- Three grenade types give him excellent versatility in neutral and offense.
- Fever Dream is a meter-efficient Super Skill, and Deadpool Corps rewards confirmed combos.
- Success comes from balancing offense and meter management, not nonstop aggression.
Final Thoughts
Deadpool stands out in Marvel Tōkon: Fighting Souls by combining fast offense with a resource system that constantly asks players to make real decisions. His Healing Gauge, Fourth Wall Attacks, and grenade arsenal create a fighter who rewards creativity as much as execution.
Players willing to put in the time will find a character who adapts to nearly any situation, with flexible Specials, strong combo potential, and comeback tools that few other fighters can match. As the roster continues to grow, we'll keep this guide updated with newly discovered combo routes, matchup advice, and balance changes.
Note: This guide is updated as Arc System Works reveals new characters, mechanics, and gameplay details. We'll keep adding new guides as more official information becomes available.
Explore more Marvel Tōkon: Fighting Souls character guides in our Marvel Tōkon Guide Hub.