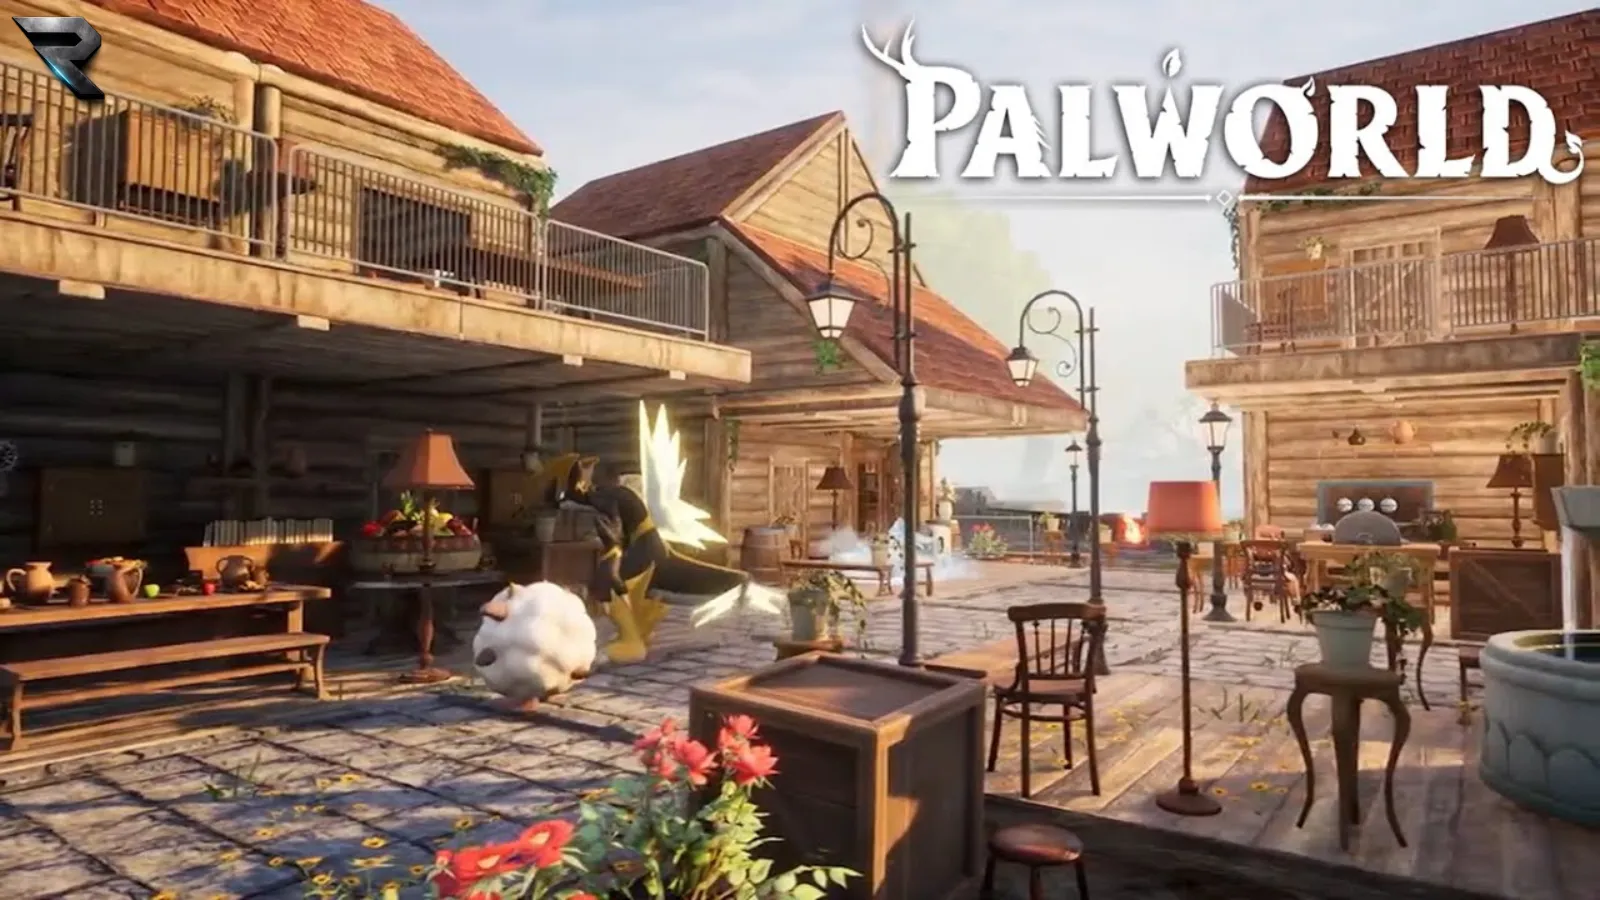


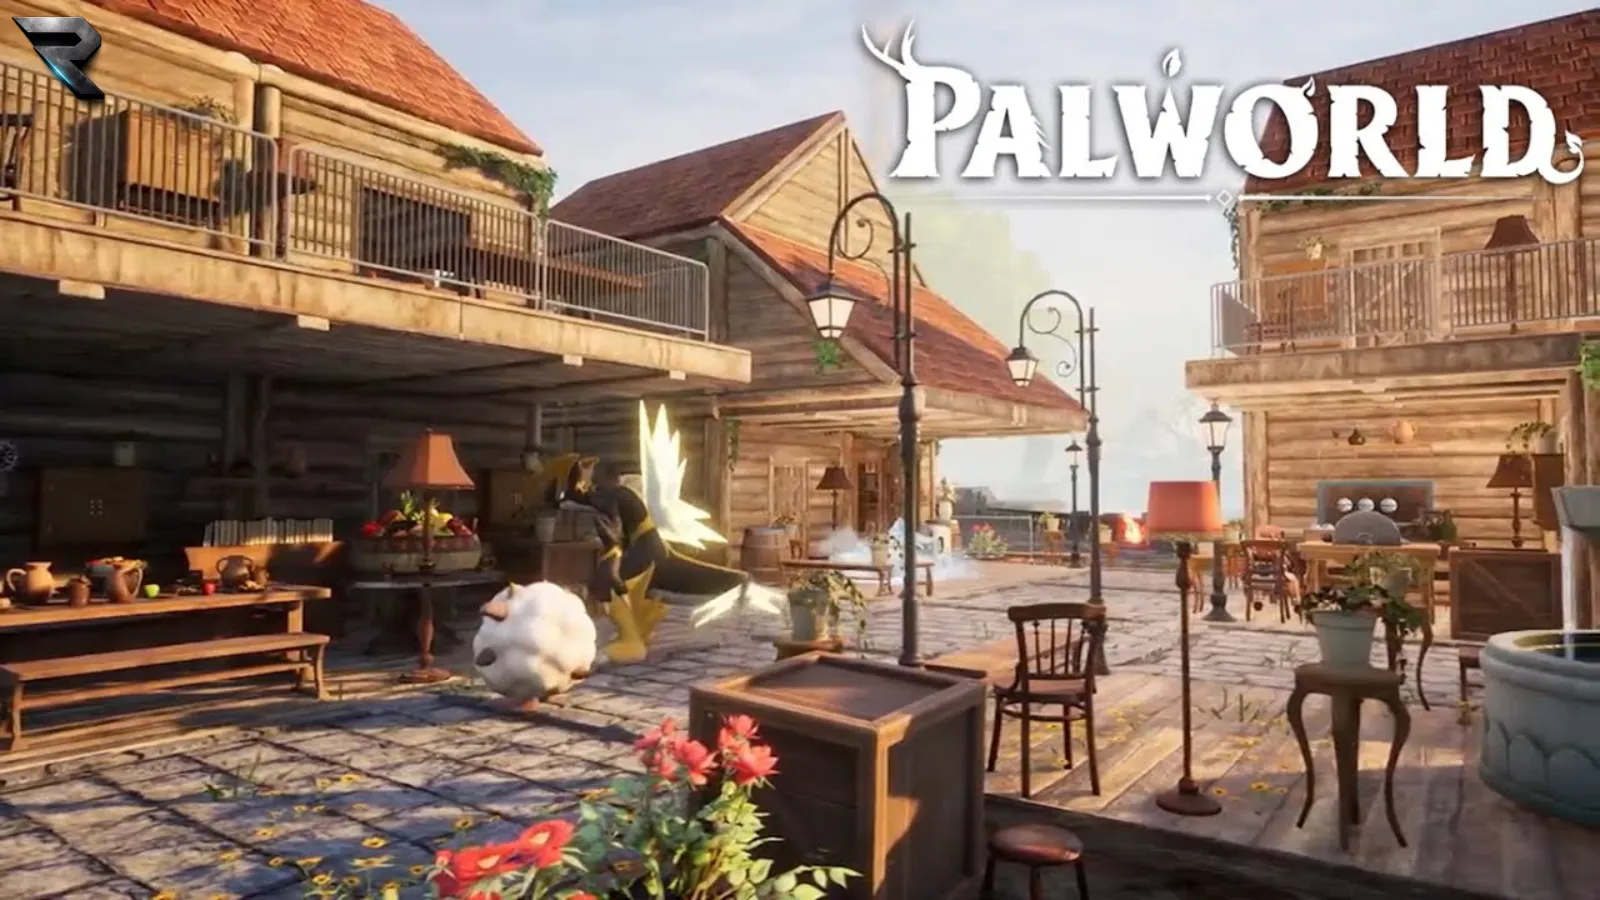
Your first base in Palworld feels easy to get right. Drop a Palbox, throw down a few crafting stations, assign some Pals, and you're up and running within minutes.
The trouble starts later.
Pals get stuck on buildings, production slows down, transporters spend more time walking than carrying anything, and a base that once felt organized turns into a maze of workstations and storage chests. A lot of players get to the point where tearing everything down feels less painful than trying to fix it.
Most of that is avoidable with a bit of planning up front.
A well-designed base does more than look good. It keeps your Pals working efficiently, cuts down on wasted movement, leaves room to grow, and holds up from your first berry plantation all the way to late-game industrial production.
This guide covers the core principles behind efficient base building in Palworld 1.0, whether you're placing your very first Palbox or rebuilding an endgame headquarters that's outgrown itself.
In This Guide
- Choose a Location That Can Grow With You
- Plan Your Palbox Before You Commit
- Think Like a Factory, Not a Village
- Organize Your Base Into Dedicated Work Zones
- Reduce Walking Distance Everywhere
- Advanced Farming Tips
- Build a Storage System That Grows With You
- Common Base Building Mistakes
- Frequently Asked Questions
- Final Thoughts
- Bonus Guide
Choose a Location That Can Grow With You
New players tend to spend too much time hunting for the "perfect" base location. There's no shortage of videos claiming to reveal the one true best spot, but a location that works great for one player's playstyle might be a poor fit for someone building around different production, farming, or breeding priorities.
Chase flexibility instead of a specific set of coordinates.
Start with usable flat land. Uneven terrain causes placement headaches later, especially once you're expanding into larger production lines or multi-story builds, so an open area gives you more room to experiment without constantly fighting the ground beneath you.
Natural resources are a bonus, not a requirement. Trees or stone deposits inside your base help early on, and later regions may put ore or crude oil within reach, but don't pass up an otherwise great building spot just because it's missing one resource. You can always let a second or third base specialize in gathering.
What matters more is thinking ahead. It's common to build a first house, workshop, and farm tightly packed together because it all fits comfortably in the opening hours, only to spend the next twenty hours trying to cram enormous production buildings into space that was never meant to hold them.
Try picturing your base at two or three times its current size. Where would additional production stations go? Is there room for bigger farming plots? Could you add another floor later? Will transport Pals actually have space to move once things get busy?
Leaving open ground feels wasteful in the early hours, but it tends to save far more time than it costs.
Plan Your Palbox Before You Commit
The Palbox is the heart of your base, and where you drop it shapes nearly everything that follows.
You don't have to rush the decision. Before placing it permanently, walk the area and picture the building radius. Confirm the circle actually covers the terrain and space you want long-term, since shifting the spot by only a few meters can noticeably change how much usable land you end up with.
Placing temporary markers or foundations first is a good way to test the layout before committing. It gives you a sense of where future structures might sit and whether any useful resources or terrain features fall inside your build zone. Once you're satisfied, place the Palbox knowing the foundation was actually planned rather than improvised on the spot.
One detail a lot of players miss is keeping the space around the Palbox relatively open. Pals spawn near this structure, and cluttering that area with walls, machinery, or decorations creates pathfinding headaches from day one. A clear starting point lets your workers reach their jobs more reliably.
You can relocate a Palbox later if you need to, but redesigning an established base after dozens of hours takes far longer than spending a few extra minutes getting the placement right the first time.
Think Like a Factory, Not a Village
The biggest shift experienced players make isn't building prettier bases. It's building smarter ones.
Instead of treating each workstation as an individual building you slot in wherever there's room, think of your base as a production line. Raw materials get gathered, transported, processed, crafted into something new, and finally stored, and every one of those steps happens somewhere in your base.
Scatter those steps randomly and every Pal ends up spending real time just walking between them. A single trip barely registers, but multiply that across dozens of workers over hundreds of in-game days and it adds up to a serious productivity loss.
Efficient bases cut that travel down wherever they can. Mining stations belong near ore storage, which belongs near furnaces, which should sit close to whatever crafting stations consume the ingots they produce. Farming areas work the same way: keep feed boxes and storage nearby so harvesting Pals can get right back to work instead of crossing half the settlement after every task.
That's the foundation every efficient late-game base is built on. Instead of asking "where does this building fit," ask "what will use the resources produced here next." That one shift in mindset changes how you plan every future expansion.
Organize Your Base Into Dedicated Work Zones
One of the easiest ways to improve both efficiency and organization is to stop treating your base as one giant open workspace and start dividing it into dedicated zones instead.
You don't need walls or separate buildings for this. Just group similar activities together so your Pals spend less time traveling between tasks and the base becomes easier to manage overall. A practical layout might separate mining and logging, crop plantations, crafting and manufacturing, a storage hub, breeding, power generation, and living quarters into their own areas.
Once you split things up this way, the workflow gets noticeably cleaner. If every mining station sits beside your ore storage and furnaces, transport Pals only need to take a few steps instead of crossing the entire settlement after each collection cycle, and the same logic applies to farms, ranches, and crafting stations.
Even once your base gets huge, these clearly defined zones make expansion much easier, since every new building already has an obvious place to go.
Reduce Walking Distance Everywhere
When players look for ways to boost efficiency, they usually think about getting stronger Pals. In practice, the bigger gain almost always comes from making your existing Pals walk less. Every second spent traveling is a second not spent mining, planting, crafting, or transporting, and that principle applies to nearly every workstation in your base.
Say a mining site sits on one side of your settlement while the nearest storage chest is fifty meters away. Every piece of stone or ore now requires a transporter to walk to the mine, pick up resources, carry them across the base, and walk back, over and over. Move that storage chest right beside the mining station instead and the route shrinks to a few steps, letting the transporter spend far more time actually moving resources instead of just walking toward them.
The same idea holds everywhere: keep furnaces close to ore storage, crafting benches close to processed materials, ranches close to item storage, and plantations close to food production. Each small improvement compounds over time.
Your Feed Box Is More Important Than You Think
If there's one structure that quietly decides how efficient your base becomes, it's the Feed Box. Whenever a working Pal gets hungry, it drops whatever task it's doing and walks to the nearest food source before heading back to work. If that food source sits on the opposite side of the settlement, every meal turns into an unnecessary trip, and multiplied across twenty or thirty workers over several in-game days, that adds up to a lot of lost productive time.
Position your Feed Box near wherever most of your workforce actually spends its day. A farming district with several plantations, watering Pals, harvesters, and transporters benefits from a nearby Feed Box so everyone can eat quickly and get back to work, and the same goes for a mining district running multiple sites at once. There's no single "correct" location for it; just think about where your workforce spends the most time and shorten that trip.
Smart Storage Makes Smarter Pals
Storage isn't just about having enough space. It's also about teaching your transport Pals where things belong.
Dropping one large chest in the middle of the base and letting every resource pile into it technically works, but it creates confusion and longer transport routes. Dedicate storage to specific production areas instead: a mining chest for stone and ore, a lumber chest for wood, a farming chest for crops and food, dedicated crafting storage near your workbenches, and separate storage for finished equipment. Storage filters help reinforce this by making sure transport Pals consistently put materials in the right container rather than whichever chest happens to be closest.
This helps you too. You'll know exactly where your ore, berries, and ingots are because everything sits beside the production line that uses it.
Assign Pals to Jobs They Actually Need to Do
Palworld's work priority system gives you more control than a lot of players realize. Left unmanaged, multi-talented Pals tend to grab whichever available task is closest rather than the one they're actually good at, which can lead to some genuinely inefficient behavior: a powerful mining Pal wandering off to chop trees, or a transporter helping with something else instead of moving finished materials where they need to go.
Taking a few minutes to set work preferences solves most of this. Dedicated miners should mine, transport specialists should transport, ranch workers should stay with ranches, and logging Pals should stick to logging areas. You don't need rigid specialization for every single Pal, but giving your workforce clearer responsibilities makes the whole production chain run smoother, especially once you've got dozens of jobs running at once.
Leave Space Between Stations
Packing every workstation tightly together can look efficient, but it often backfires. Large structures interfere with movement, making it harder for Pals to navigate corners or reach interaction points, and some stations have far less forgiving collision boxes than others, which is worth knowing before you cluster equipment together.
Leave comfortable walking lanes, avoid boxing stations in between walls, don't block entrances with storage chests, and give bigger Pals room to maneuver. A base with a bit more open space almost always outperforms one where every available tile has been filled, because efficiency comes from letting your workforce move naturally, not from squeezing in the highest possible structure count.
Build Upward Without Creating Pathfinding Problems
Multi-level bases are one of the best ways to stretch limited space, especially once your settlement starts filling up with larger production stations. Building vertically lets you dedicate entire floors to different activities instead of sprawling endlessly across the landscape.
The catch is that your Pals still need to move through every floor efficiently. Narrow staircases, low ceilings, or workstations crammed into tight rooms make it harder for workers to reach their tasks, and a beautiful-looking workshop can turn into an inefficient maze fast if movement wasn't part of the design.
Build with more space than you think you need. Three-wall-high floors give nearly every production building enough clearance while leaving room for larger Pals to move comfortably, and wider staircases and hallways cut down on congestion when several workers are traveling between levels at once. Ask whether your Pals can actually move through an area naturally, not just whether something technically fits.
Separate Automated Work From Manual Work
Not every workstation behaves the same way. Some, like mining sites, logging sites, crop plantations, ranches, and power generation, run almost continuously without any input from you. Others, like crafting benches, production lines, cooking stations, and repair stations, only activate once you manually queue a job.
Because automated stations stay busy nearly all the time, they benefit the most from being clustered together, letting workers move between them almost instantly whenever one goes idle. Manual stations don't need the same treatment since they're not constantly active, so they can sit a little farther out without hurting overall efficiency.
Give Transport Pals Shorter Routes
Transport Pals are the unsung heroes of an efficient base. Every log, ore chunk, harvested crop, and crafted item eventually depends on one of them reaching the right storage container, and the longer their routes get, the slower your whole settlement runs.
That's why grouping production stations together matters so much. If a furnace sits right beside the mining site, a transporter finishes the trip in seconds; put that same furnace on another floor or across the base, and dozens of unnecessary journeys start piling up over the course of a day. A tight chain like Mining Area → Ore Storage → Furnace → Crafting Stations lets resources flow through in one loop instead of bouncing across your settlement, and large transport Pals in particular become far more effective once they're not spending most of their time walking.
Beds Don't Need to Be Perfect
Players tend to spend more time than necessary organizing sleeping quarters. It's easy to assume every Pal needs a carefully assigned bed inside a perfectly designed barracks, but bed placement barely affects overall efficiency in practice. As long as your base has enough beds for your workforce, your Pals will rest and recover when they need to.
Whether those beds sit in one dormitory, next to individual work areas, or scattered across a few small cottages is mostly a matter of taste. Some players build large barracks, others prefer small villages of houses, and some just tuck beds near workstations to cut down travel time. All of it works, so don't burn valuable production space chasing a perfect sleeping arrangement.
Keep Your Base Flexible
One of the most overlooked parts of good base design is planning for buildings you haven't unlocked yet. Early structures are small, but late-game machinery isn't, and as your tech tree expands you'll unlock production facilities, advanced crafting stations, stronger generators, and specialized equipment that take up far more space than the workbenches you started with.
If every foundation tile is already filled by the time those unlock, you're usually stuck demolishing part of your existing base to make room. Reserve open sections for future expansion instead, and treat your initial layout as a framework rather than a finished product. A flexible base grows alongside your progression instead of forcing a redesign every few hours.
Don't Build for Today, Build for Hundreds of Hours
A compact starter base feels efficient during your first few levels, but Palworld is built around constant progression. New production stations appear, more Pals arrive, storage needs grow, food production expands, electricity becomes essential, and breeding facilities eventually eat up a surprising amount of space. A settlement that only covers your current needs will eventually be outgrown.
Building slightly larger than necessary from the start leaves room for every future upgrade without disrupting the production lines you've already set up. That doesn't mean building an empty fortress on day one, just resisting the urge to fill every corner immediately. Space you don't use today often turns into the perfect spot for tomorrow's most important building.
Advanced Farming Tips for Maximum Food Production
A reliable food supply keeps every part of your base running. Hungry Pals work less, spend more time traveling to eat, and can lose productivity over long sessions. A handful of berry plantations covers you early on, but larger settlements need a farming layout that supports dozens of workers at once.
Dedicate an entire district to food production instead of scattering plantations wherever there's free space. Keeping crop fields together creates a cleaner workflow for planting, watering, gathering, and transporting, since Pals stay focused in one compact area where each task naturally connects to the next, and it stays far easier to manage as your base expands.
Stack Plantations to Save Valuable Space
Stacking plantations vertically is one of the most effective late-game techniques, letting you produce a lot more food using only a fraction of the floor space. That matters more once larger production buildings, breeding farms, and advanced machinery start competing for room.
Stacking everything as high as possible isn't automatically the right call, though. Excessively tall plantation towers can create pathfinding problems, with workers hesitating, getting stuck, or taking longer routes to reach planting and harvesting spots. Most players get the best balance by keeping plantation stacks to a reasonable height rather than maxing them out.
Prioritize Gathering Over Everything Else
Crop production breaks down into planting, watering, and harvesting, and of those three, harvesting usually has the biggest impact on your overall food output. Even perfectly watered crops can't produce new harvests while ripe plants sit uncollected in the field, and planting can't restart until harvesting finishes.
Assigning capable gathering Pals to your farming district pays off here. Faster harvesting keeps crop rotations moving so planting and watering don't stall out. When picking workers for large plantations, look past who can do the job and toward who can do it fastest.
Keep Food Storage Close to the Fields
Harvesting is only half the job; those crops still need to reach storage before the next cycle starts. Placing dedicated storage right beside your plantations shortens that entire process, letting transport Pals collect harvested crops, drop them nearby, and get straight back to the fields instead of hauling them across the settlement.
Keeping the Feed Box close to the farming district benefits everyone working there too, from planters and waterers to gatherers and transporters, since most of them spend their whole day in that one area. It's a small layout choice that pays off noticeably over longer play sessions.
Build a Storage System That Grows With Your Base
Storage tends to grow naturally as your settlement expands, and the problem is that most players just keep dropping new chests wherever there's free space. After enough hours, resources end up scattered everywhere: one chest full of wood, another full of random food, a third mixing ore with weapons, armor, and crafting materials, until even you can't remember what's stored where.
Treat storage as its own production system instead. Group chests into categories, like raw materials (wood, stone, ore, coal), food (crops, cooked meals, ranch products, ingredients), crafting materials (ingots, refined products, components), and equipment (weapons, armor, accessories, ammunition). This isn't just tidier; it also shortens transport routes between related production stations.
Save Space With Better Chest Placement
Once your storage needs grow, simply adding more chests isn't always the best move. Later storage options let you hold far more material in less floor space, and some containers arrange more efficiently than basic early-game chests, which makes them worth the upgrade once you unlock them.
Even before you reach those upgrades, thoughtful placement makes a real difference. Instead of lining random walls with chests, build a centralized storage hub positioned between your major production districts, keeping mining resources near furnaces, food near kitchens, and crafting materials near workbenches. That keeps transport routes short and resource management a lot more intuitive.
Use Every Square Meter Efficiently
As your headquarters turns into a late-game production center, every foundation tile gets more valuable. Instead of thinking in terms of individual buildings, think about how entire systems fit together. Can this production chain share one area? Does this workstation really need its own building? Can nearby storage serve multiple stations? Is there unused vertical space above this room?
None of these adjustments feel significant on their own, but together they turn a base into something that feels organized, spacious, and genuinely efficient, less a collection of random buildings and more a headquarters where every workstation has a purpose.
Common Base Building Mistakes That Hurt Efficiency
A base doesn't have to look messy to perform poorly. Plenty of impressive-looking settlements have hidden efficiency problems that slow production over time, and most players don't notice until they're wondering why their Pals seem idle or why resources keep piling up. Avoiding these mistakes makes a noticeable difference regardless of how big your base gets.
| Mistake | Why It Hurts Efficiency |
|---|---|
| Building without a long-term plan | New unlocks get squeezed into random gaps until there's no logical layout left |
| Filling every available space | Restricts movement and creates traffic jams for Pals and transporters |
| Ignoring Pal pathfinding | Narrow paths and clutter compound into slower automated tasks across the base |
| Putting storage wherever it fits | Turns your base into a maze of unlabeled containers |
| Treating every station the same | Automated stations lose out on the prime locations they actually need |
| Forgetting about transportation | Long, single-item trips quietly stall your whole production chain |
| Making every floor too small | Cramped multi-story builds cause awkward Pal movement |
| Chasing perfect symmetry | Forces an unnatural layout instead of one that matches actual production needs |
Mistake #1: Building Without a Long-Term Plan
A common trap for new players is treating every unlocked structure as something that needs to go down immediately: a logging site wherever there's room, a furnace squeezed beside a wall, a ranch stuffed behind the workshop. One unlock after another and there's no logical layout left.
Think several tech tiers ahead instead. Leave empty sections for future expansion, reserve space for industrial production, and let your farming district grow naturally. A little empty space today beats a complete rebuild tomorrow.
Mistake #2: Filling Every Available Space
A lot of players assume a compact base is automatically an efficient one. Usually it's the opposite. When every structure touches another, movement gets restricted, Pals have fewer routes to reach workstations, and larger workers struggle to navigate production areas.
Your base should feel open, which doesn't mean wasting huge amounts of land. It just means giving your workers room to operate naturally. If a production line looks slightly too spacious, it's probably about right.
Mistake #3: Ignoring Pal Pathfinding
Pathfinding quietly affects every automated task in your settlement. Your Pals don't understand the layout the way you imagined it; they just calculate a path from one task to the next, and the more obstacles that path contains, the more opportunities there are for delays.
Narrow hallways, decorative clutter, storage blocking entrances, tight staircases, and machinery packed too closely together don't seem serious on their own, but combined they can drag down the efficiency of your entire base. When designing a new section, picture how your largest Pal would move through it. If it feels cramped to you, it'll feel cramped to them too.
Mistake #4: Putting Storage Wherever It Fits
Storage often becomes an afterthought: you finish building something, realize there's nowhere to put the resources, and drop a chest in the nearest empty corner. Do that enough times and your base turns into a maze of random containers.
Instead, every storage chest should support the production line next to it. Mining storage belongs beside mining, food beside farming, crafting materials beside crafting stations, and finished equipment gets its own dedicated area. Keeping resources organized isn't just cleaner; it shortens transport routes and makes managing your inventory much easier.
Mistake #5: Treating Every Station the Same
Not every workstation deserves equal priority. Mining sites, plantations, ranches, and logging operations run almost constantly, while crafting benches and assembly lines only activate when you queue work. Because of that gap, automated stations deserve the best real estate in your base, while manual crafting stations can comfortably sit a bit farther away since they aren't constantly occupied.
Mistake #6: Forgetting About Transportation
A lot of players focus heavily on miners, farmers, and crafters while overlooking the workers who connect every production line together. Without efficient transport, even the best production setup eventually grinds to a halt. If transport Pals are constantly hauling single items across your settlement between distant buildings, you're leaking productivity.
Shorten those routes by grouping related production stations together and keeping storage nearby, so transporters can complete dozens of short trips instead of a handful of long ones. The faster they finish one delivery, the sooner they start the next.
Mistake #7: Making Every Floor Too Small
Multi-story bases save space, but only if every floor stays practical. Squeezing massive production stations into low-ceiling workshops causes unnecessary frustration, and extremely narrow upper floors force Pals into awkward movement patterns.
Treat each floor as a complete workspace: give production areas enough clearance, leave comfortable walkways, and let future stations fit without needing another redesign. Building slightly larger now is almost always easier than rebuilding later.
Mistake #8: Chasing Perfect Symmetry
Perfectly symmetrical bases look fantastic, but they're not always practical. Real production layouts rarely expand evenly in every direction. One side might end up housing breeding facilities, another becomes your industrial district, and your farming operation could double in size while your crafting area barely changes.
Let your base evolve naturally. Balanced doesn't have to mean identical, and plenty of the best-looking settlements lean into asymmetry to create more interesting layouts while keeping production flowing well.
If there's one lesson that separates experienced builders from everyone else, it's that a base should work well before it looks impressive. Aesthetics still matter, and Palworld gives you plenty of room to build something beautiful, but a stunning base loses most of its appeal once workers keep getting stuck or resources take forever to move between stations. Get the efficiency right first and decorating becomes a lot easier, because you're improving a layout that already functions.
Frequently Asked Questions
Where should I place my Palbox?
Somewhere with flat, open land and room to grow. Walk the area first and visualize the build radius before committing, and keep the immediate surroundings clear so Pals can move freely.
Does bed placement matter in Palworld?
Not much. As long as you have enough beds for your workforce, exact placement has very little effect on efficiency, so build them wherever fits your base's style.
How tall should I stack plantations?
Keep stacks to a reasonable height. Going too tall can cause pathfinding issues where Pals hesitate or take longer routes to reach planting and harvesting spots.
Is a bigger base always a more efficient base?
No. Overcrowded bases restrict movement and create traffic jams. A base with a bit more open space between stations usually performs better than one where every tile is filled.
Should I build vertically or expand outward?
Both work, but vertical builds need generous clearance and wide staircases to avoid pathfinding problems. Three-wall-high floors give most production buildings enough room while keeping movement smooth.
Final Thoughts
The best Palworld bases aren't built in one sitting. They evolve. A first settlement might start as nothing more than a Palbox, a few berry plantations, and a wooden workbench, and dozens of hours later that same spot can become a thriving industrial headquarters with specialized production lines, organized storage, efficient transport routes, and a workforce that rarely wastes a step.
You don't need the biggest base on the map to get there. You just need a layout that respects your Pals' time as much as your own. Plan before you build, group related workstations together, keep travel distances short, leave room for future expansion, and don't be afraid to redesign as your technology improves. Get those principles right and your base won't just survive the early game, it'll keep supporting every new challenge Palworld throws at you, all the way through the endgame.
Looking for the Best Place to Build?
Now that you know how to build an efficient base, the next step is choosing the right location. Some areas are perfect for early-game expansion, while others are better suited for ore farming, breeding, crude oil production, or late-game resources.
If you're still deciding where to place your next Palbox, check out our Best Palworld Base Locations Guide, where we break down the strongest locations for every stage of progression and explain what makes each one worth building in.
Editor's Note
This guide is based on verified Palworld 1.0 base building mechanics available at the time of publication. Palworld is an actively updated game, and future patches may rebalance work priorities, pathfinding, or base building systems. If you notice something that has changed since publication, let us know through our contact page so we can keep this guide accurate.